Dakota Chasity Presets
The Hummingbird Pack

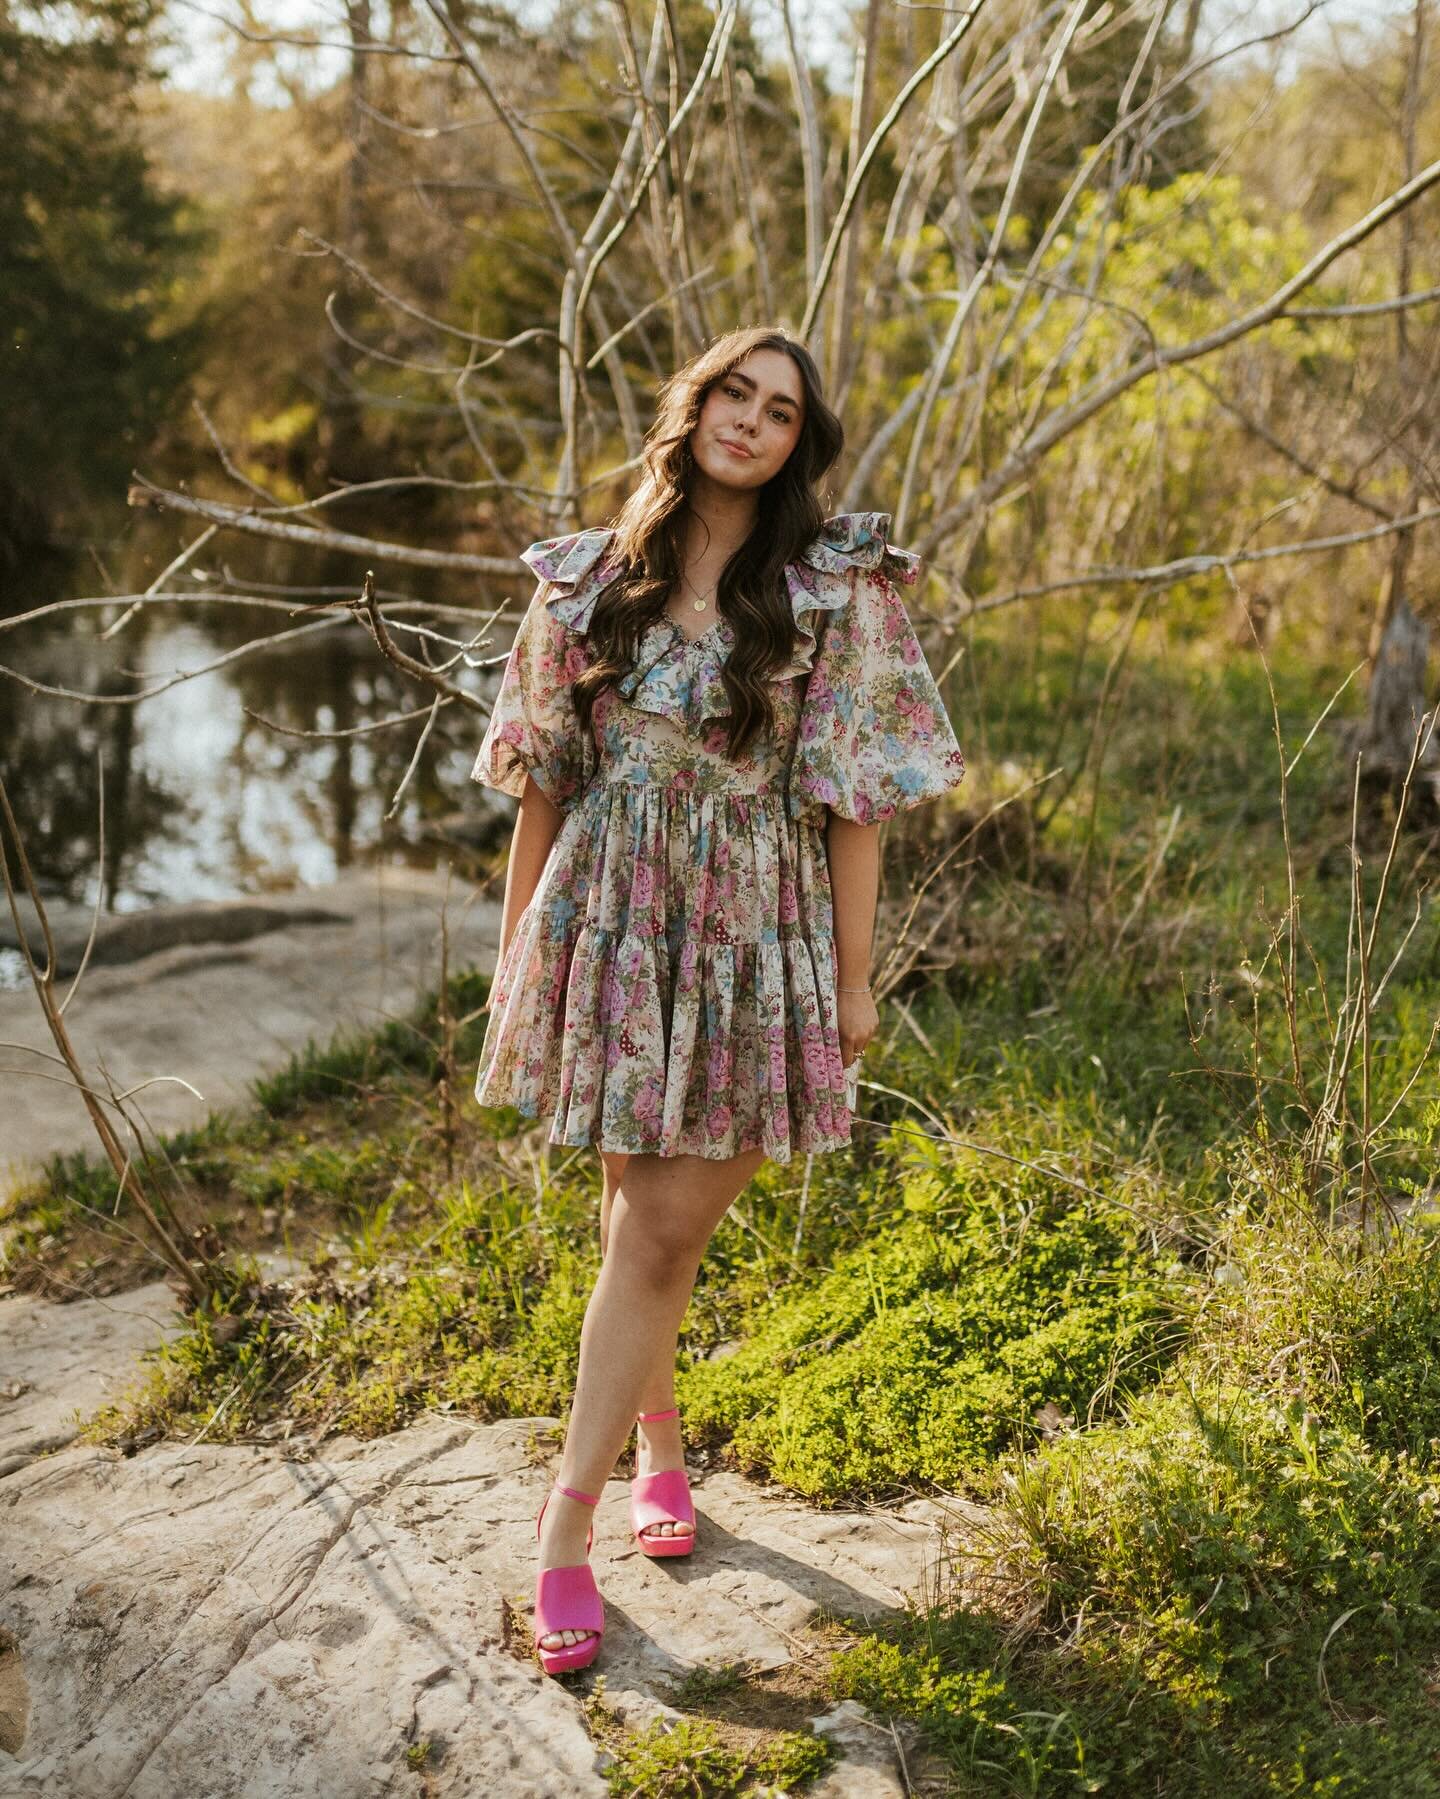
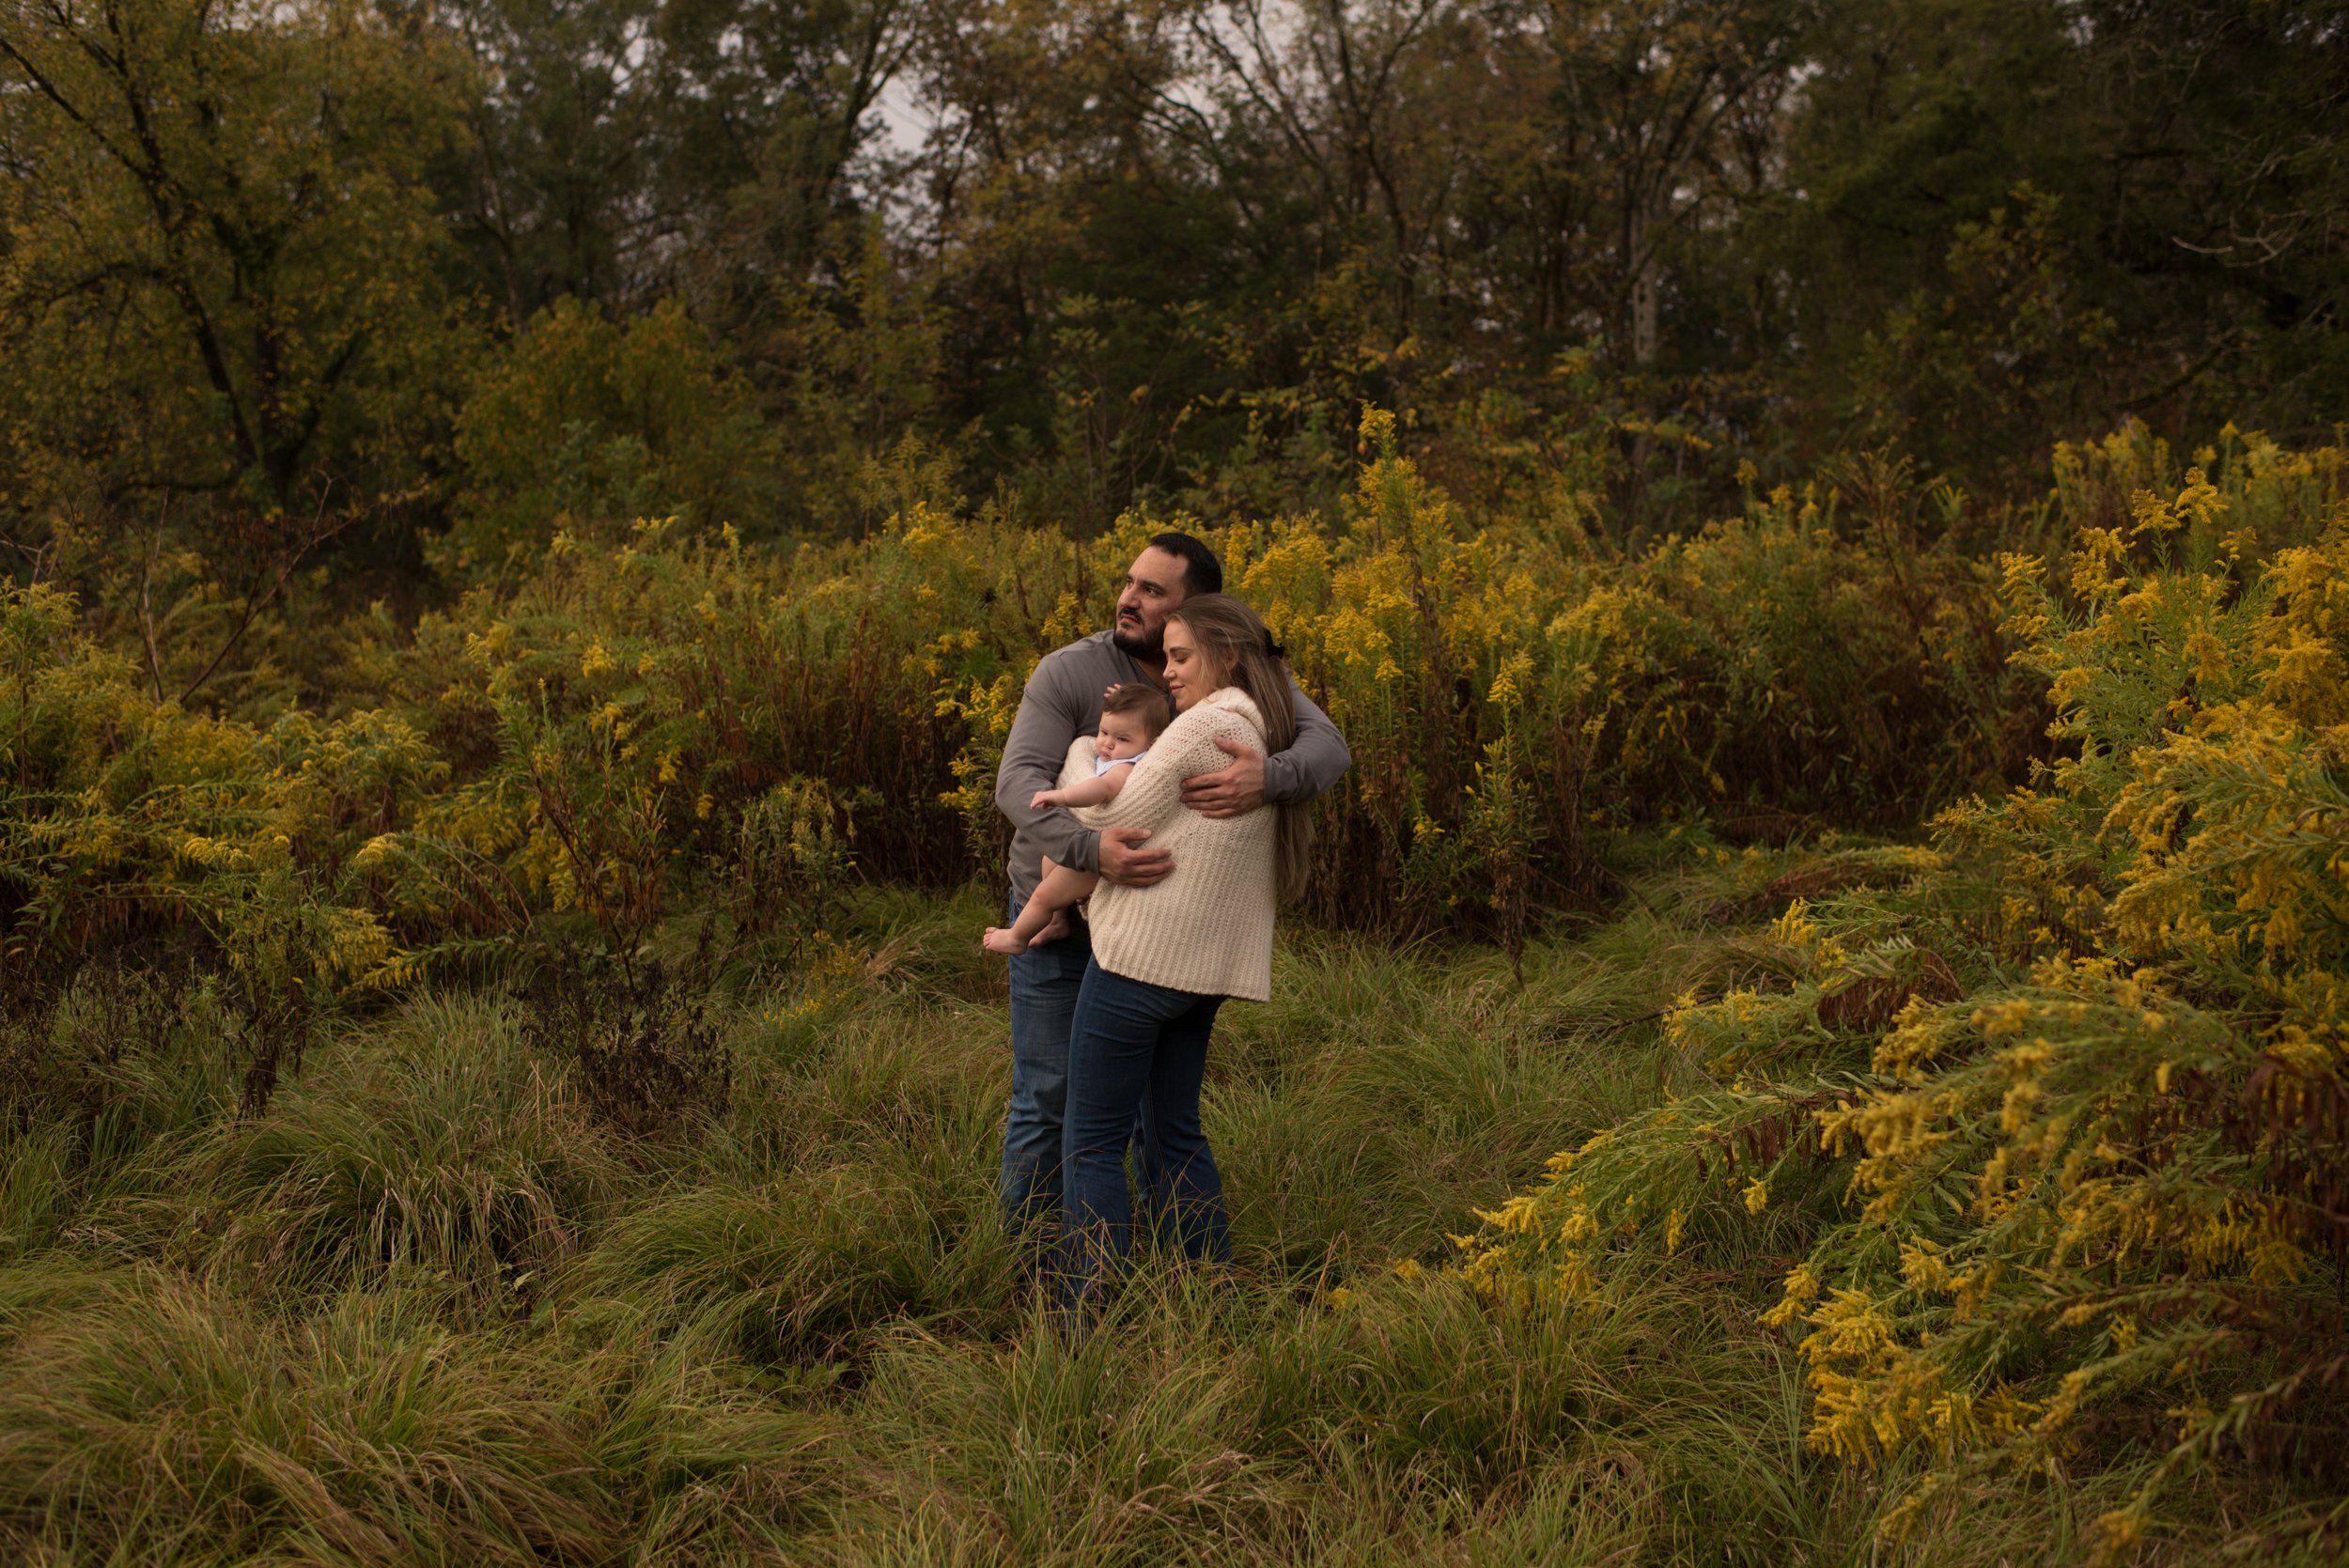
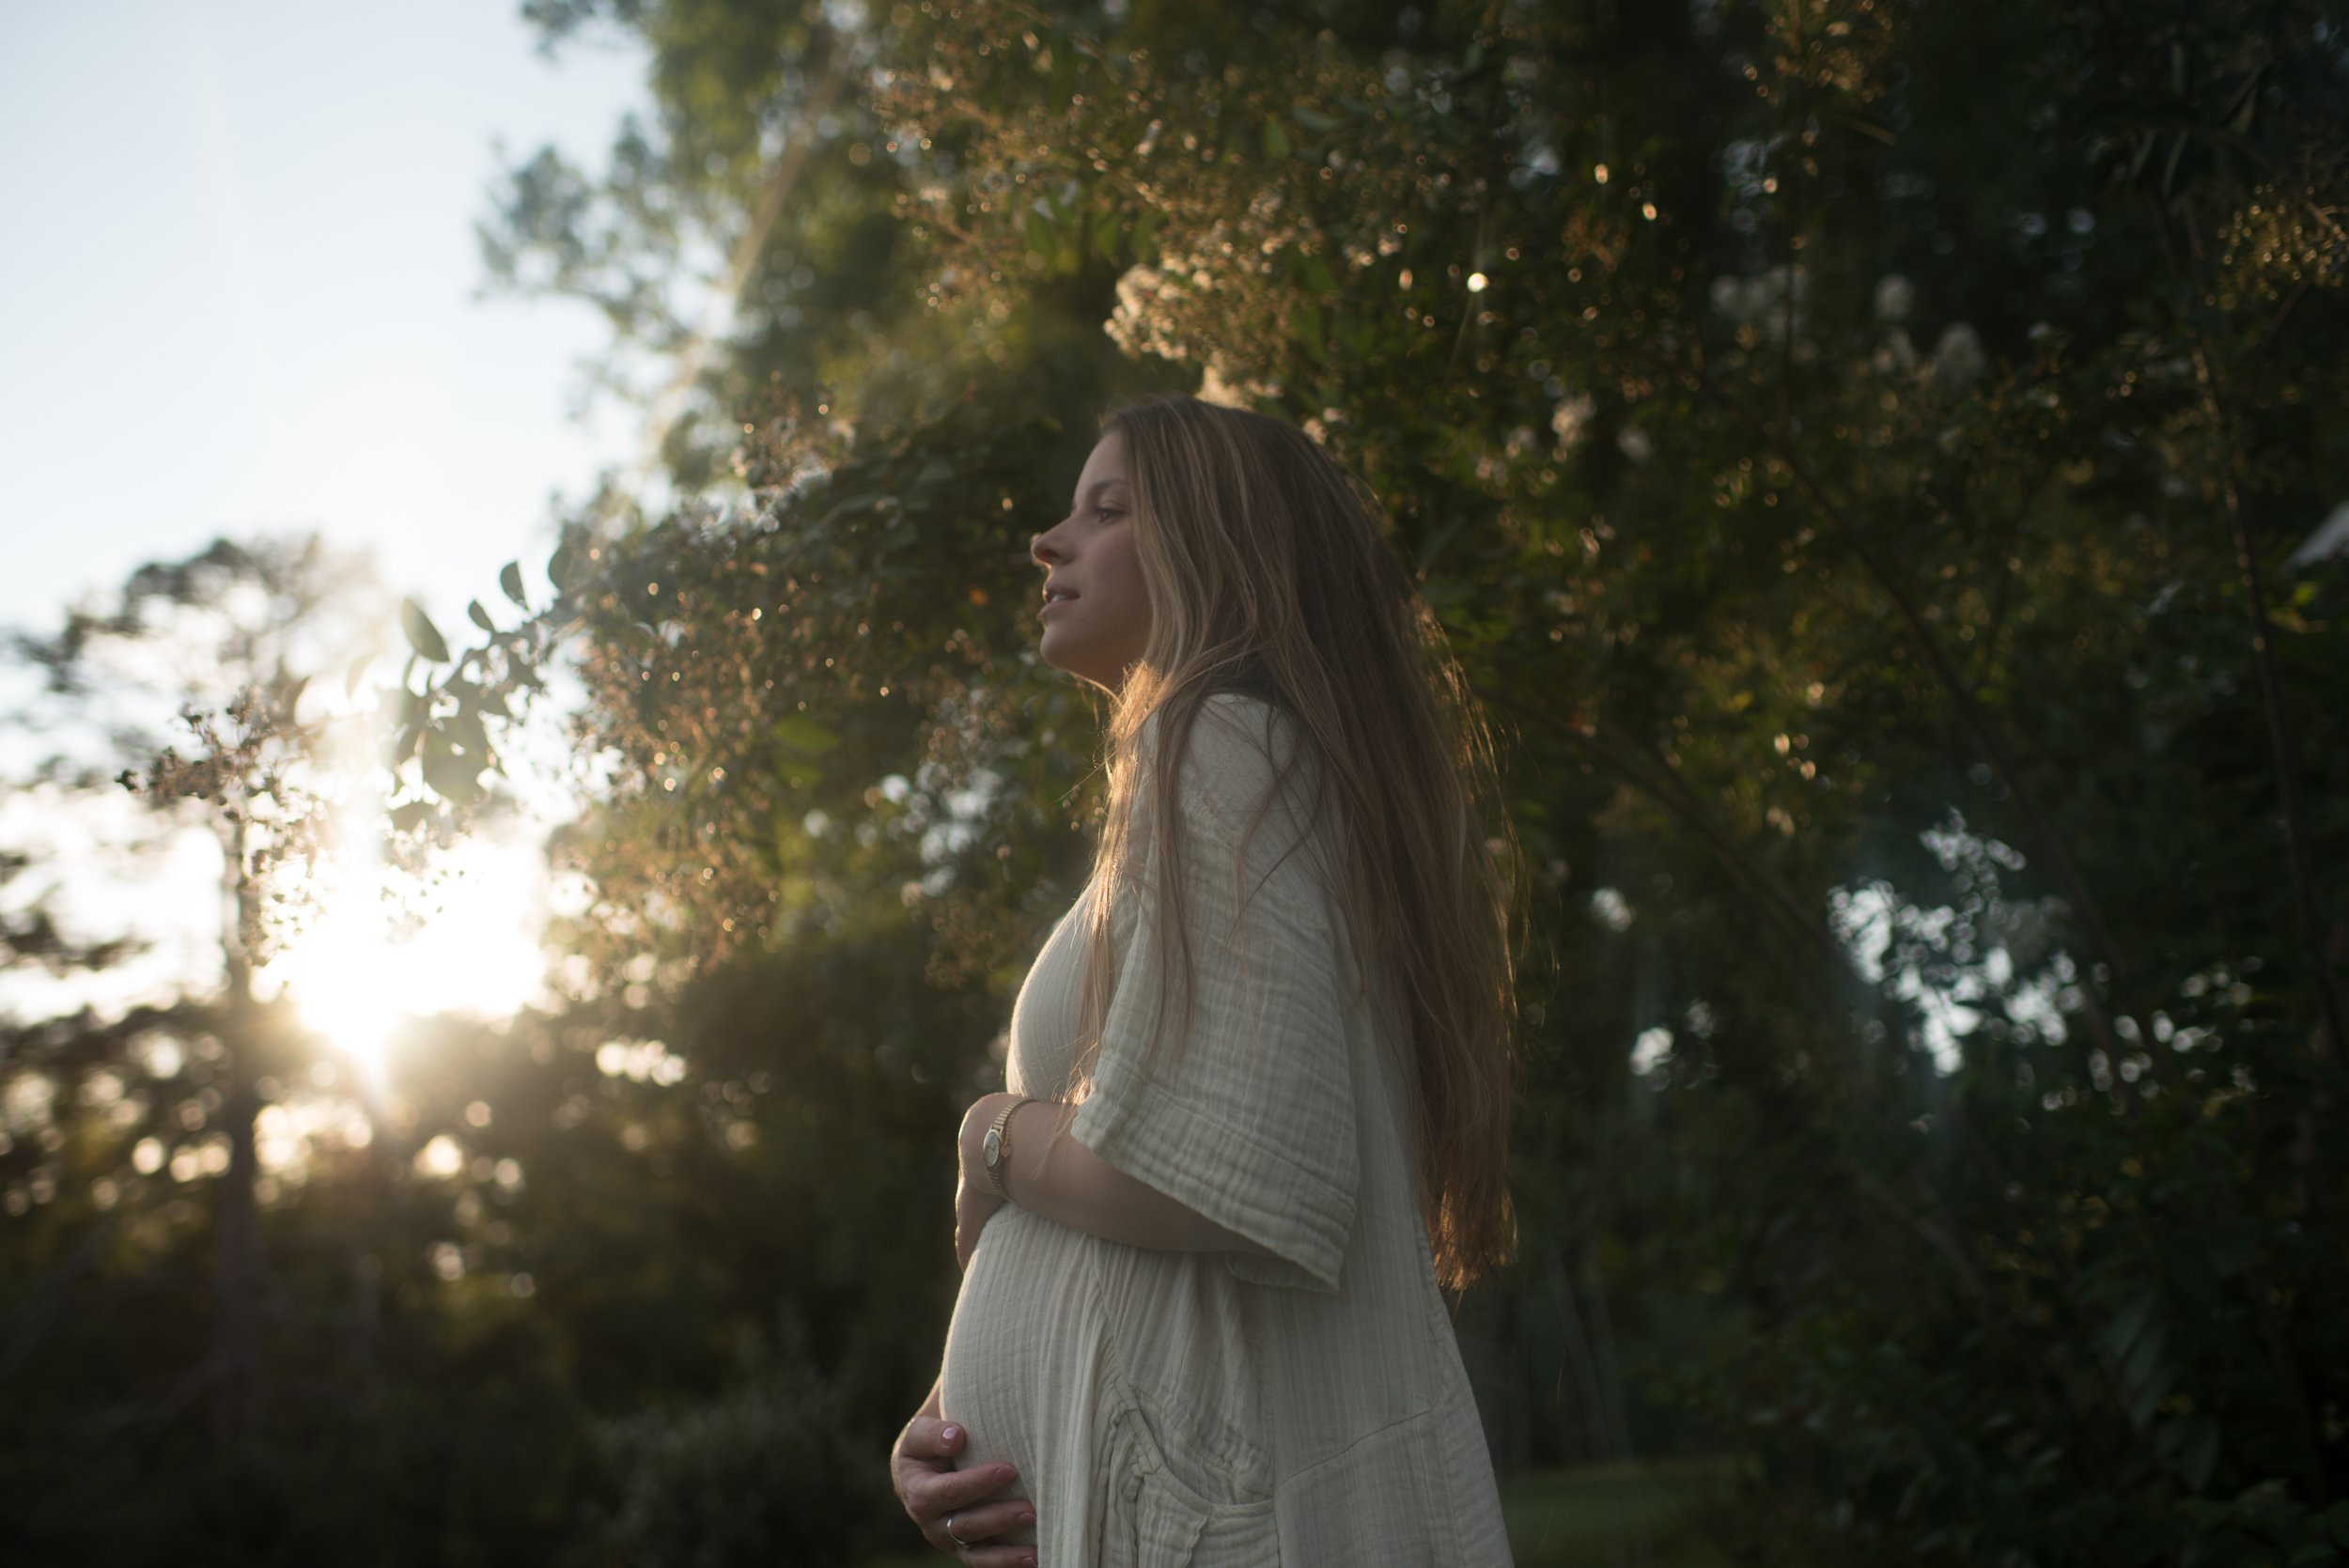
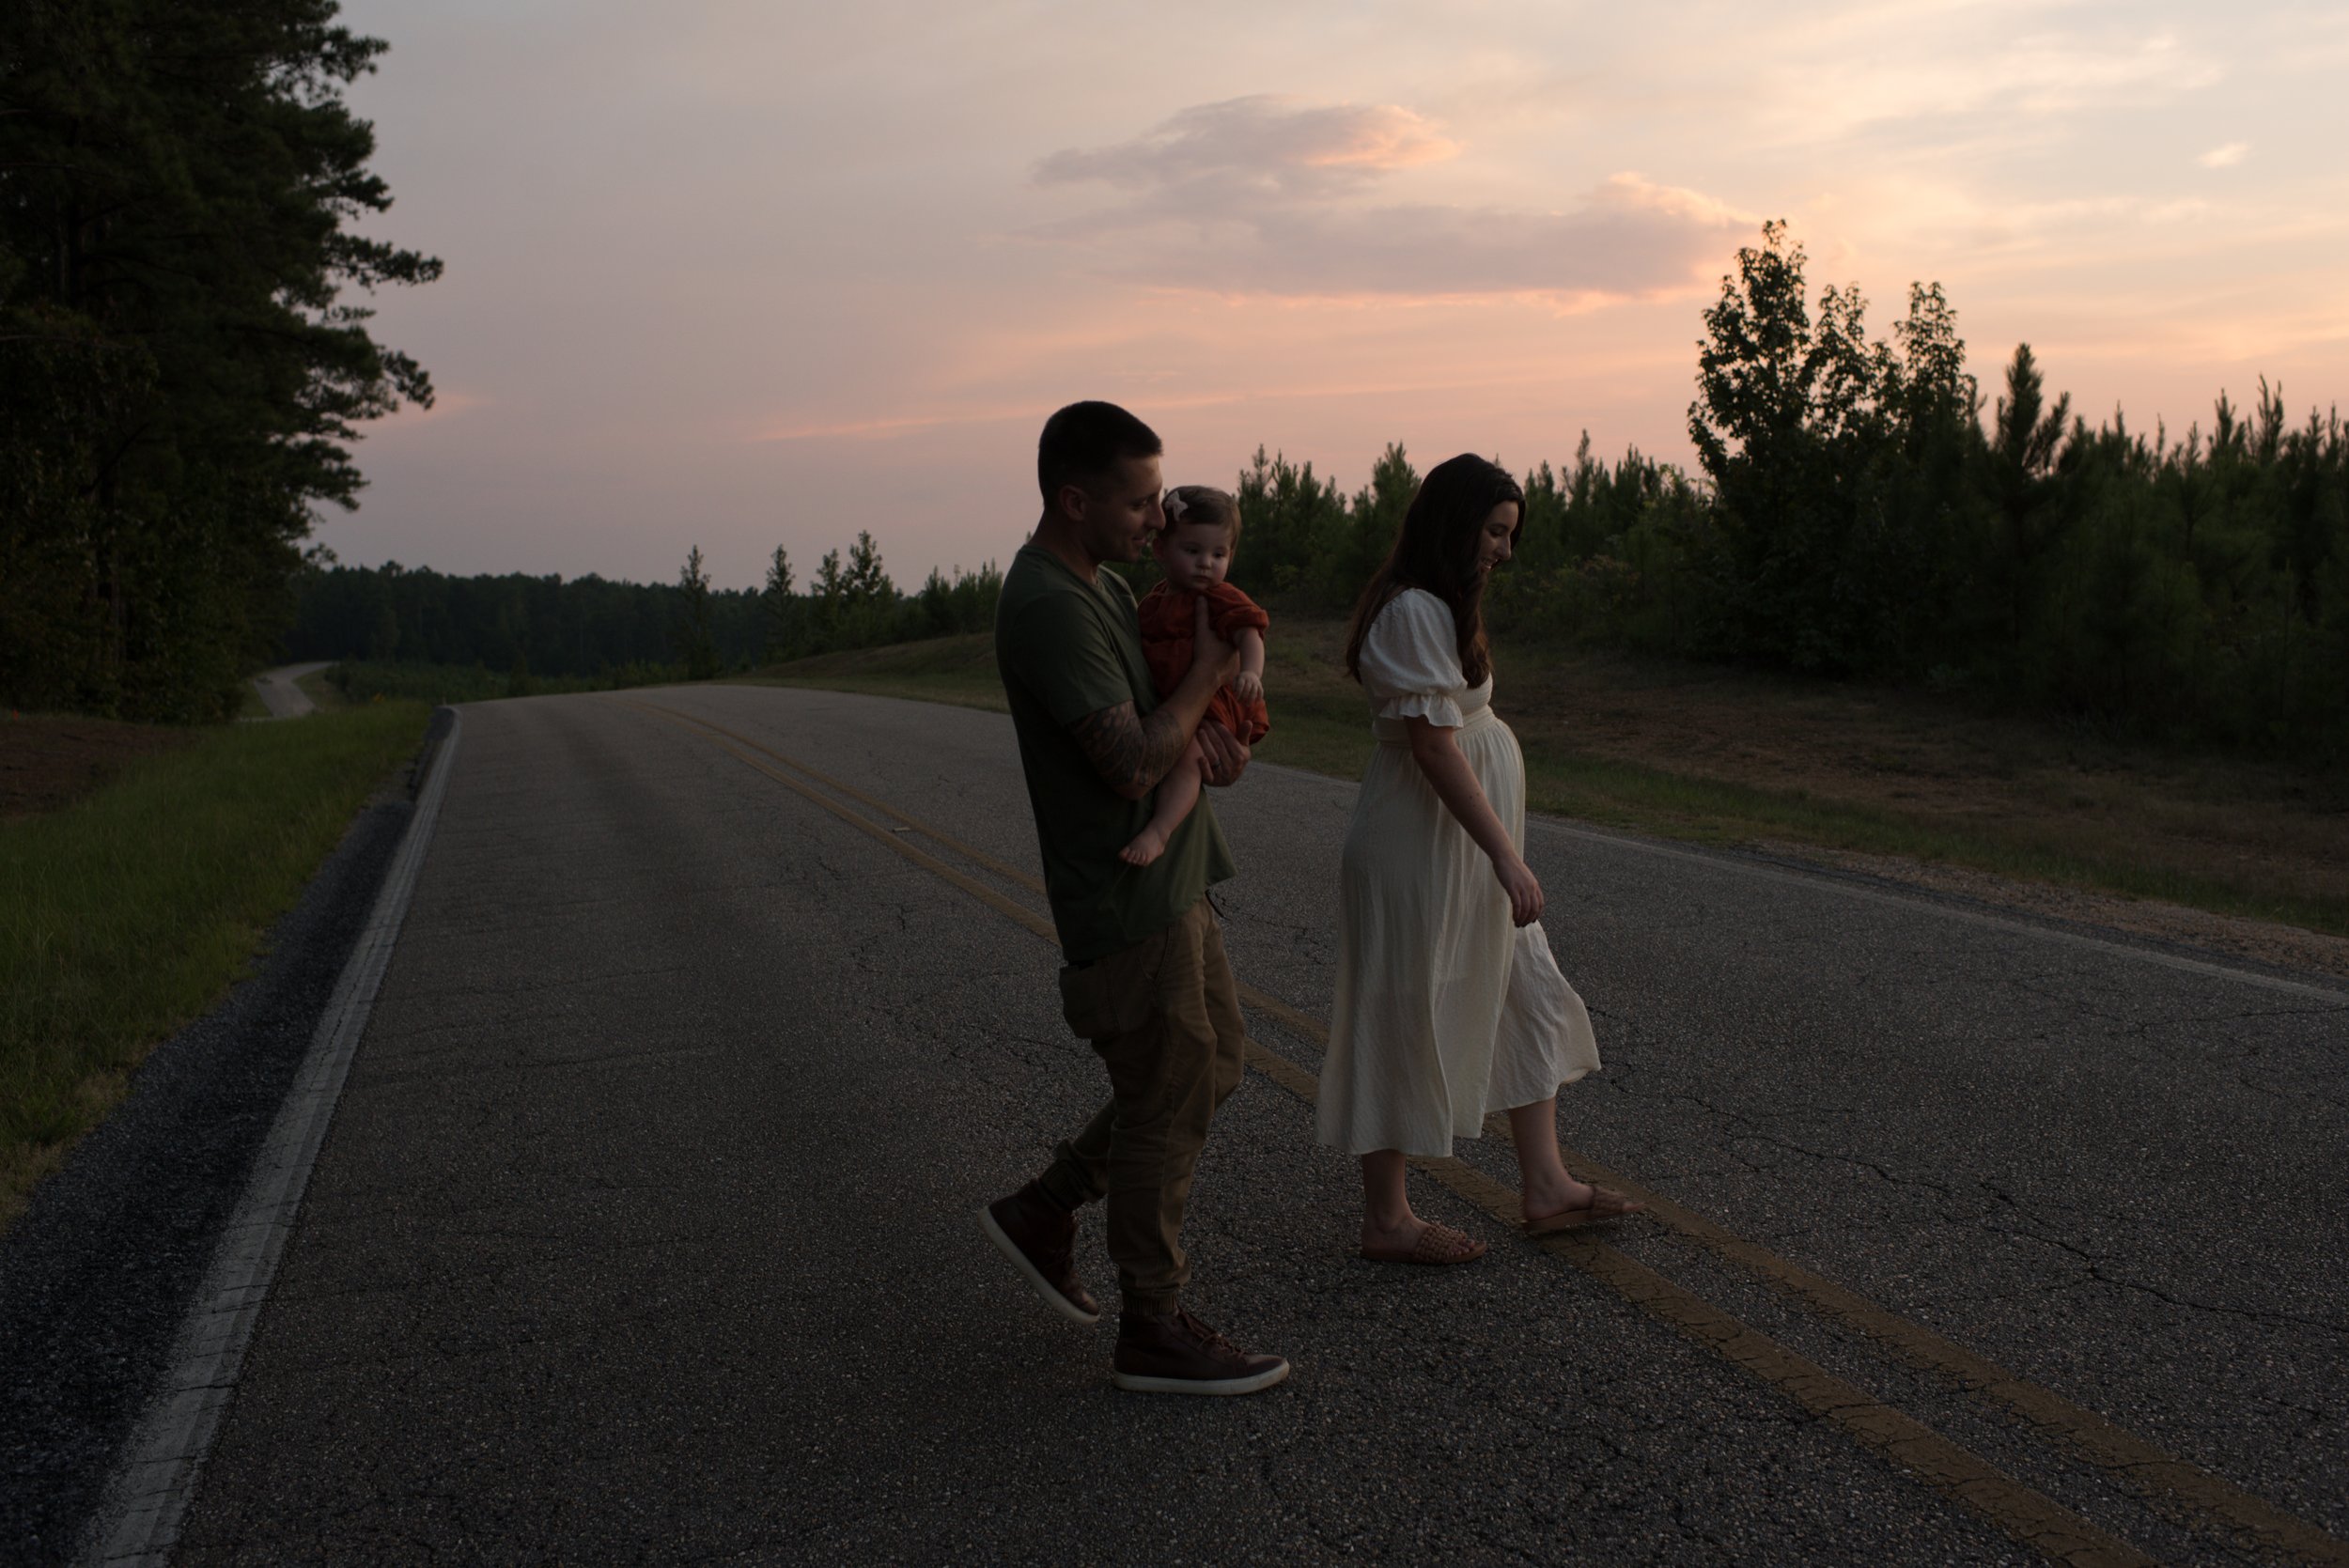
EARTHY, WARM, BOLD
Creamy skin, soft highlights, deep shadows, rich greens, & golden tones. These presets are color & nostalgia, wrapped in a hug.
Desktop Presets
$99
Inside Your Pack
This pack includes two sets, for two separate (but cohesive) styles, with similar color palettes.
Classic
3 color presets (These presets have the same tones & colors, but there are changes in the Basic module & Tone Curve for a different feel. Essentially, each of the color presets in this set have the same base, but their own personality.)
2 black & white presets
Film
1 color preset
2 black & white presets
Tools
zeroed
grain+
grain ++
grain +++
grain ++++
grain off
lens corrections
lens corrections off
An Overview
No, it’s not the first time I’ve released presets, but it’s been over FIVE years since my last release. The past few years, I’ve been working to refine my signature look & landed in a place that I feel is the most me I’ve ever felt in my art. As an artist, your style will evolve as you do. 11 years ago, I was trying to unveil my creative voice & I just needed to find a place to start. For some of you, you might be there too. Maybe you just want to learn. Maybe you feel like it’s time to try something new. Maybe you resonate with my style. Whatever the reason, may these presets help you find your way & your voice too.
XO, Dakota
Things to Know
Presets are tools. They a meant to help you streamline your workflow, & encourage creative exploration. You might find that a few clicks help you to achieve the look you want, but know that it sometimes takes playing around with them to figure out your own magic sauce. If you’ve tried this & can’t get the results you are looking for, please email me at hello@dakotachasity.com & I would be glad to help!
BUY PRESETS & DON’T TRADE.
It’s a little scary putting a product out there knowing how much time, energy, & love that you put into it - and that others will be using it on their photos too. I have personally witnessed the trading of my presets (and other photographers’) on platforms in the past, which was really upsetting. As creatives, if we preach the importance of clients investing in our services, we should be doing the same to creatives who release educational content/products.
About This Collection
IMPORTANT: These presets ONLY work with Lightroom Classic (version 7.5 or later) & Lightroom CC (version 1.3 or later). If you are using an earlier version, you will need to update to a newer version to use these presets.
This preset pack includes XMP files only (no LRTEMPLATE files).
These presets are created for RAW images only (not for use on jpegs).
These are desktop presets (not mobile presets).
Once purchased, you will have 24 hours to download the presets onto your device & then the link will expire. Please be sure to back up a copy to more than one location!
If you have purchased these presets, but have not received your order, be sure to check your spam/junk folder. You can search “Adventure Elopement & Alabama Wedding Photographer | Dakota Chasity” in your email. If you still find that you are having trouble accessing them, please email me at hello@dakotachasity.com with your order number so I can help.
This purchase is for 1 user only.
All sales are final & purchases are non-refundable.
However, I always want to hear your feedback & what I can do better!
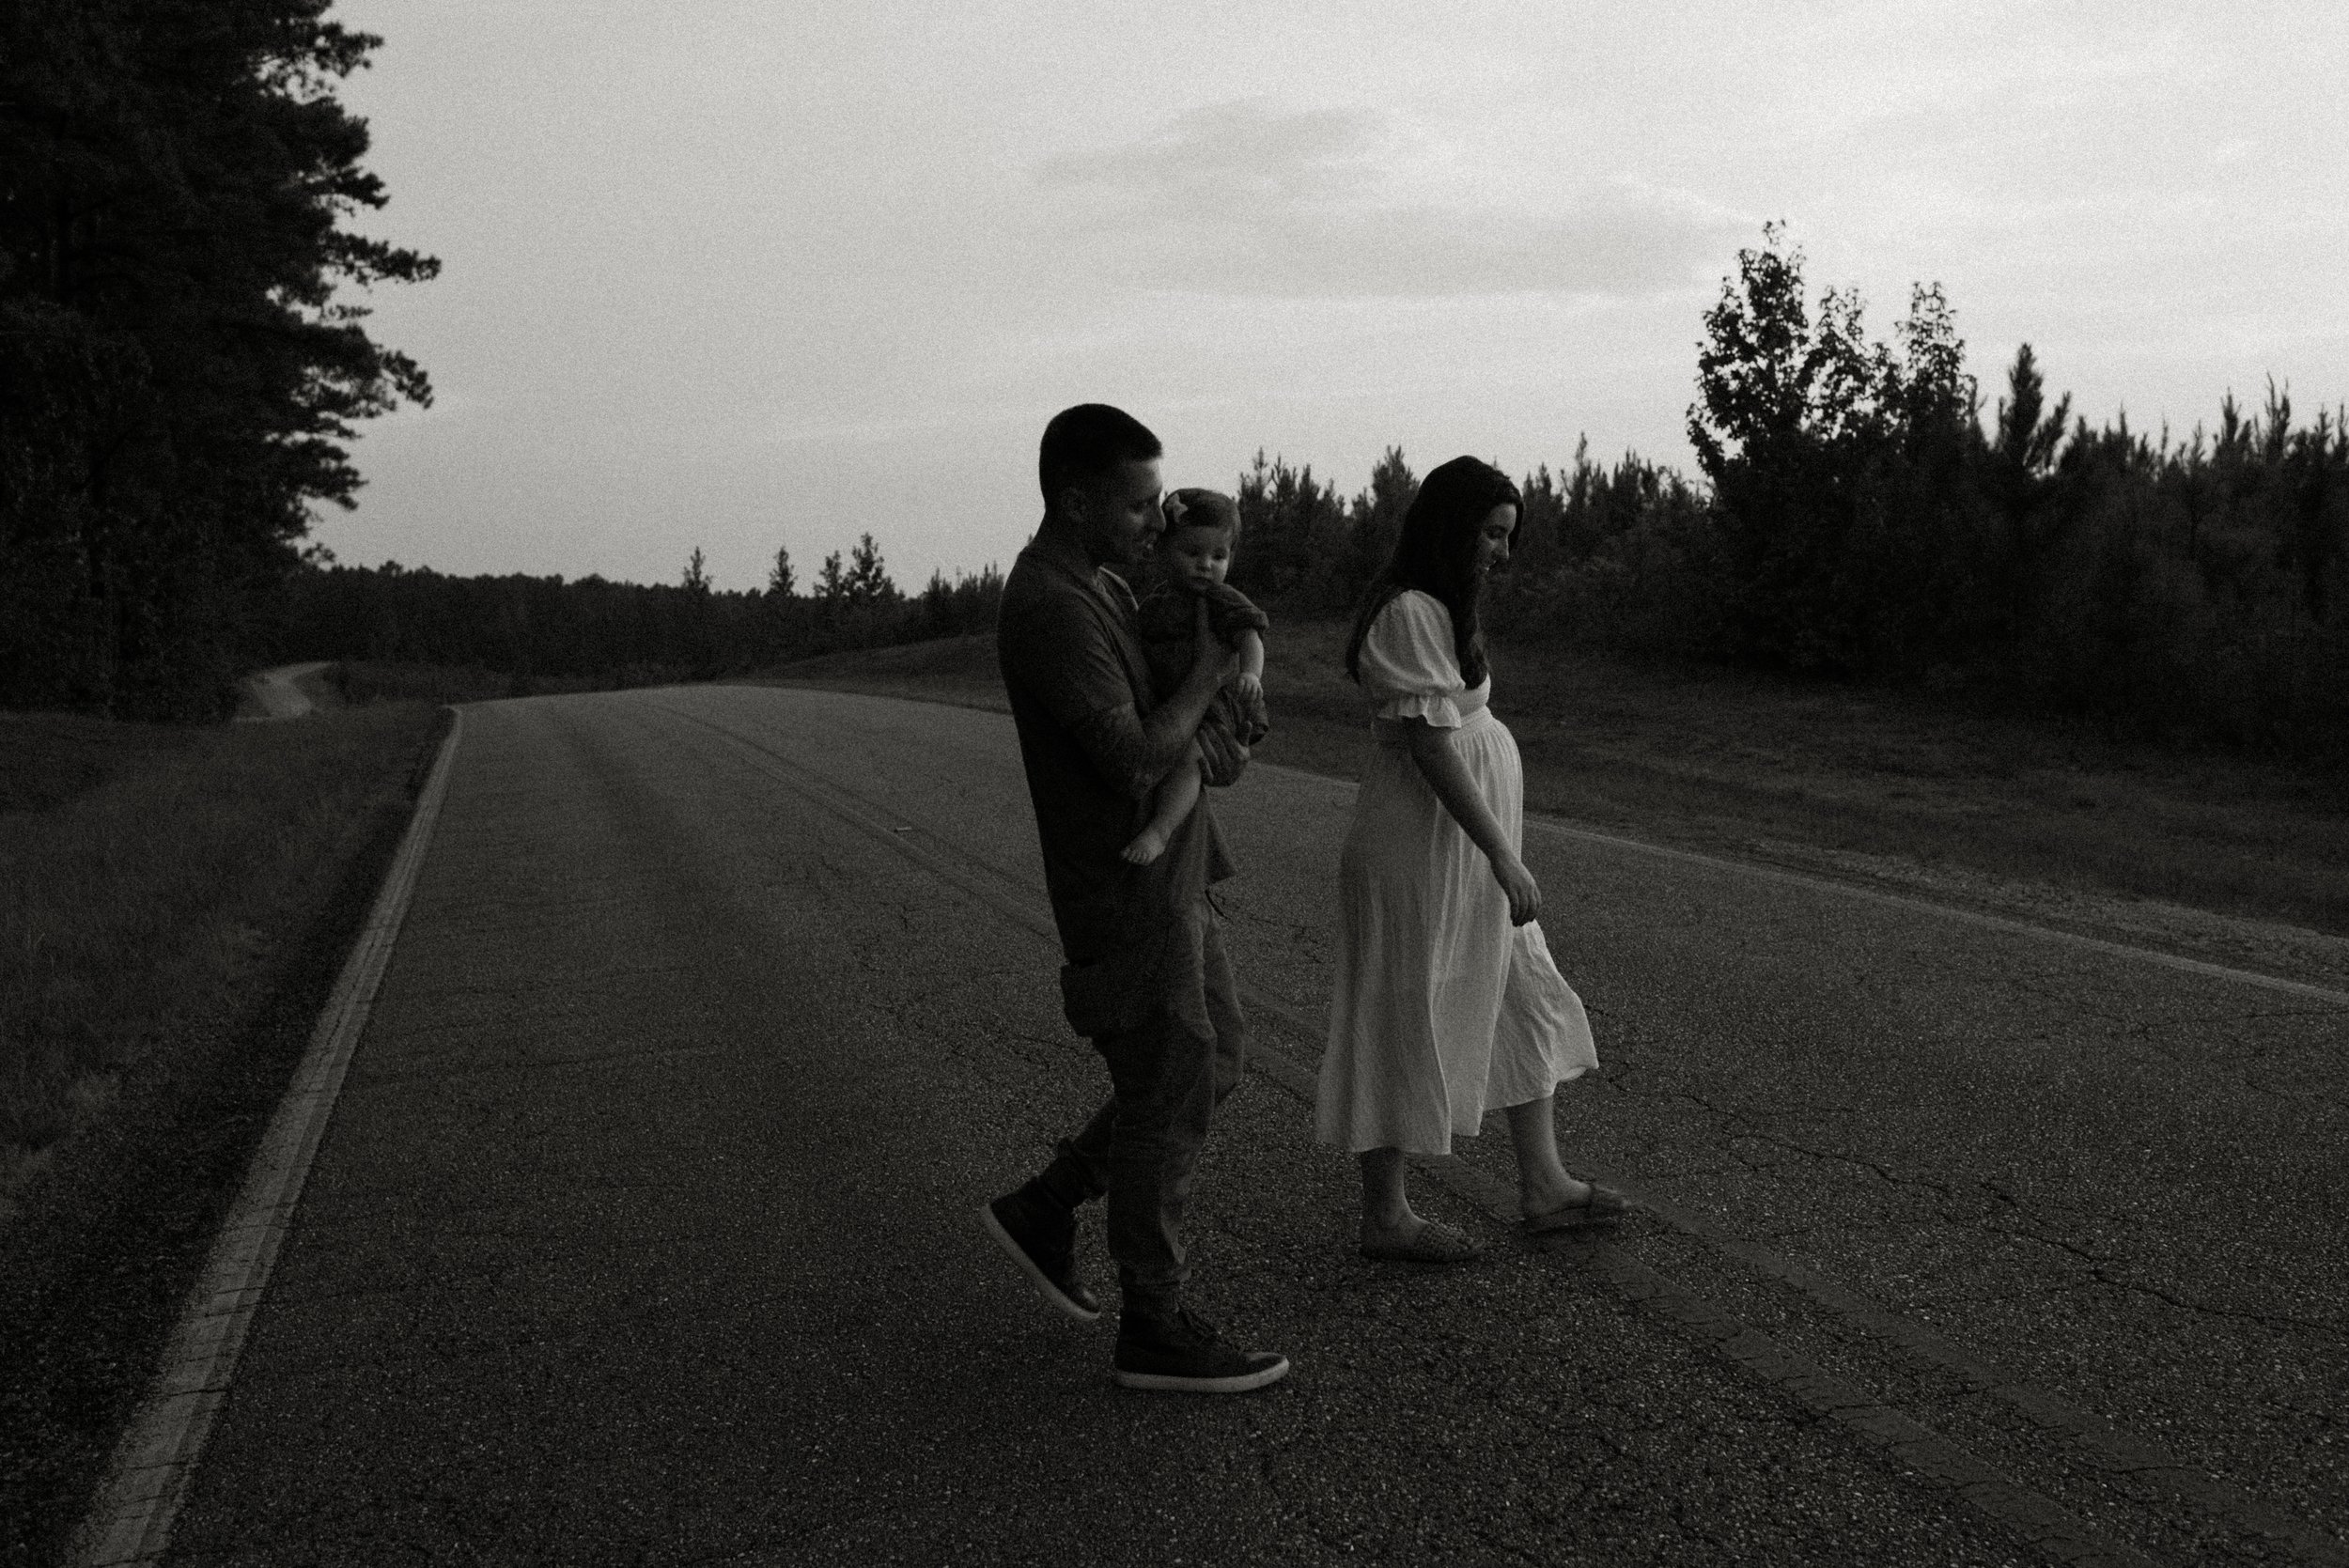
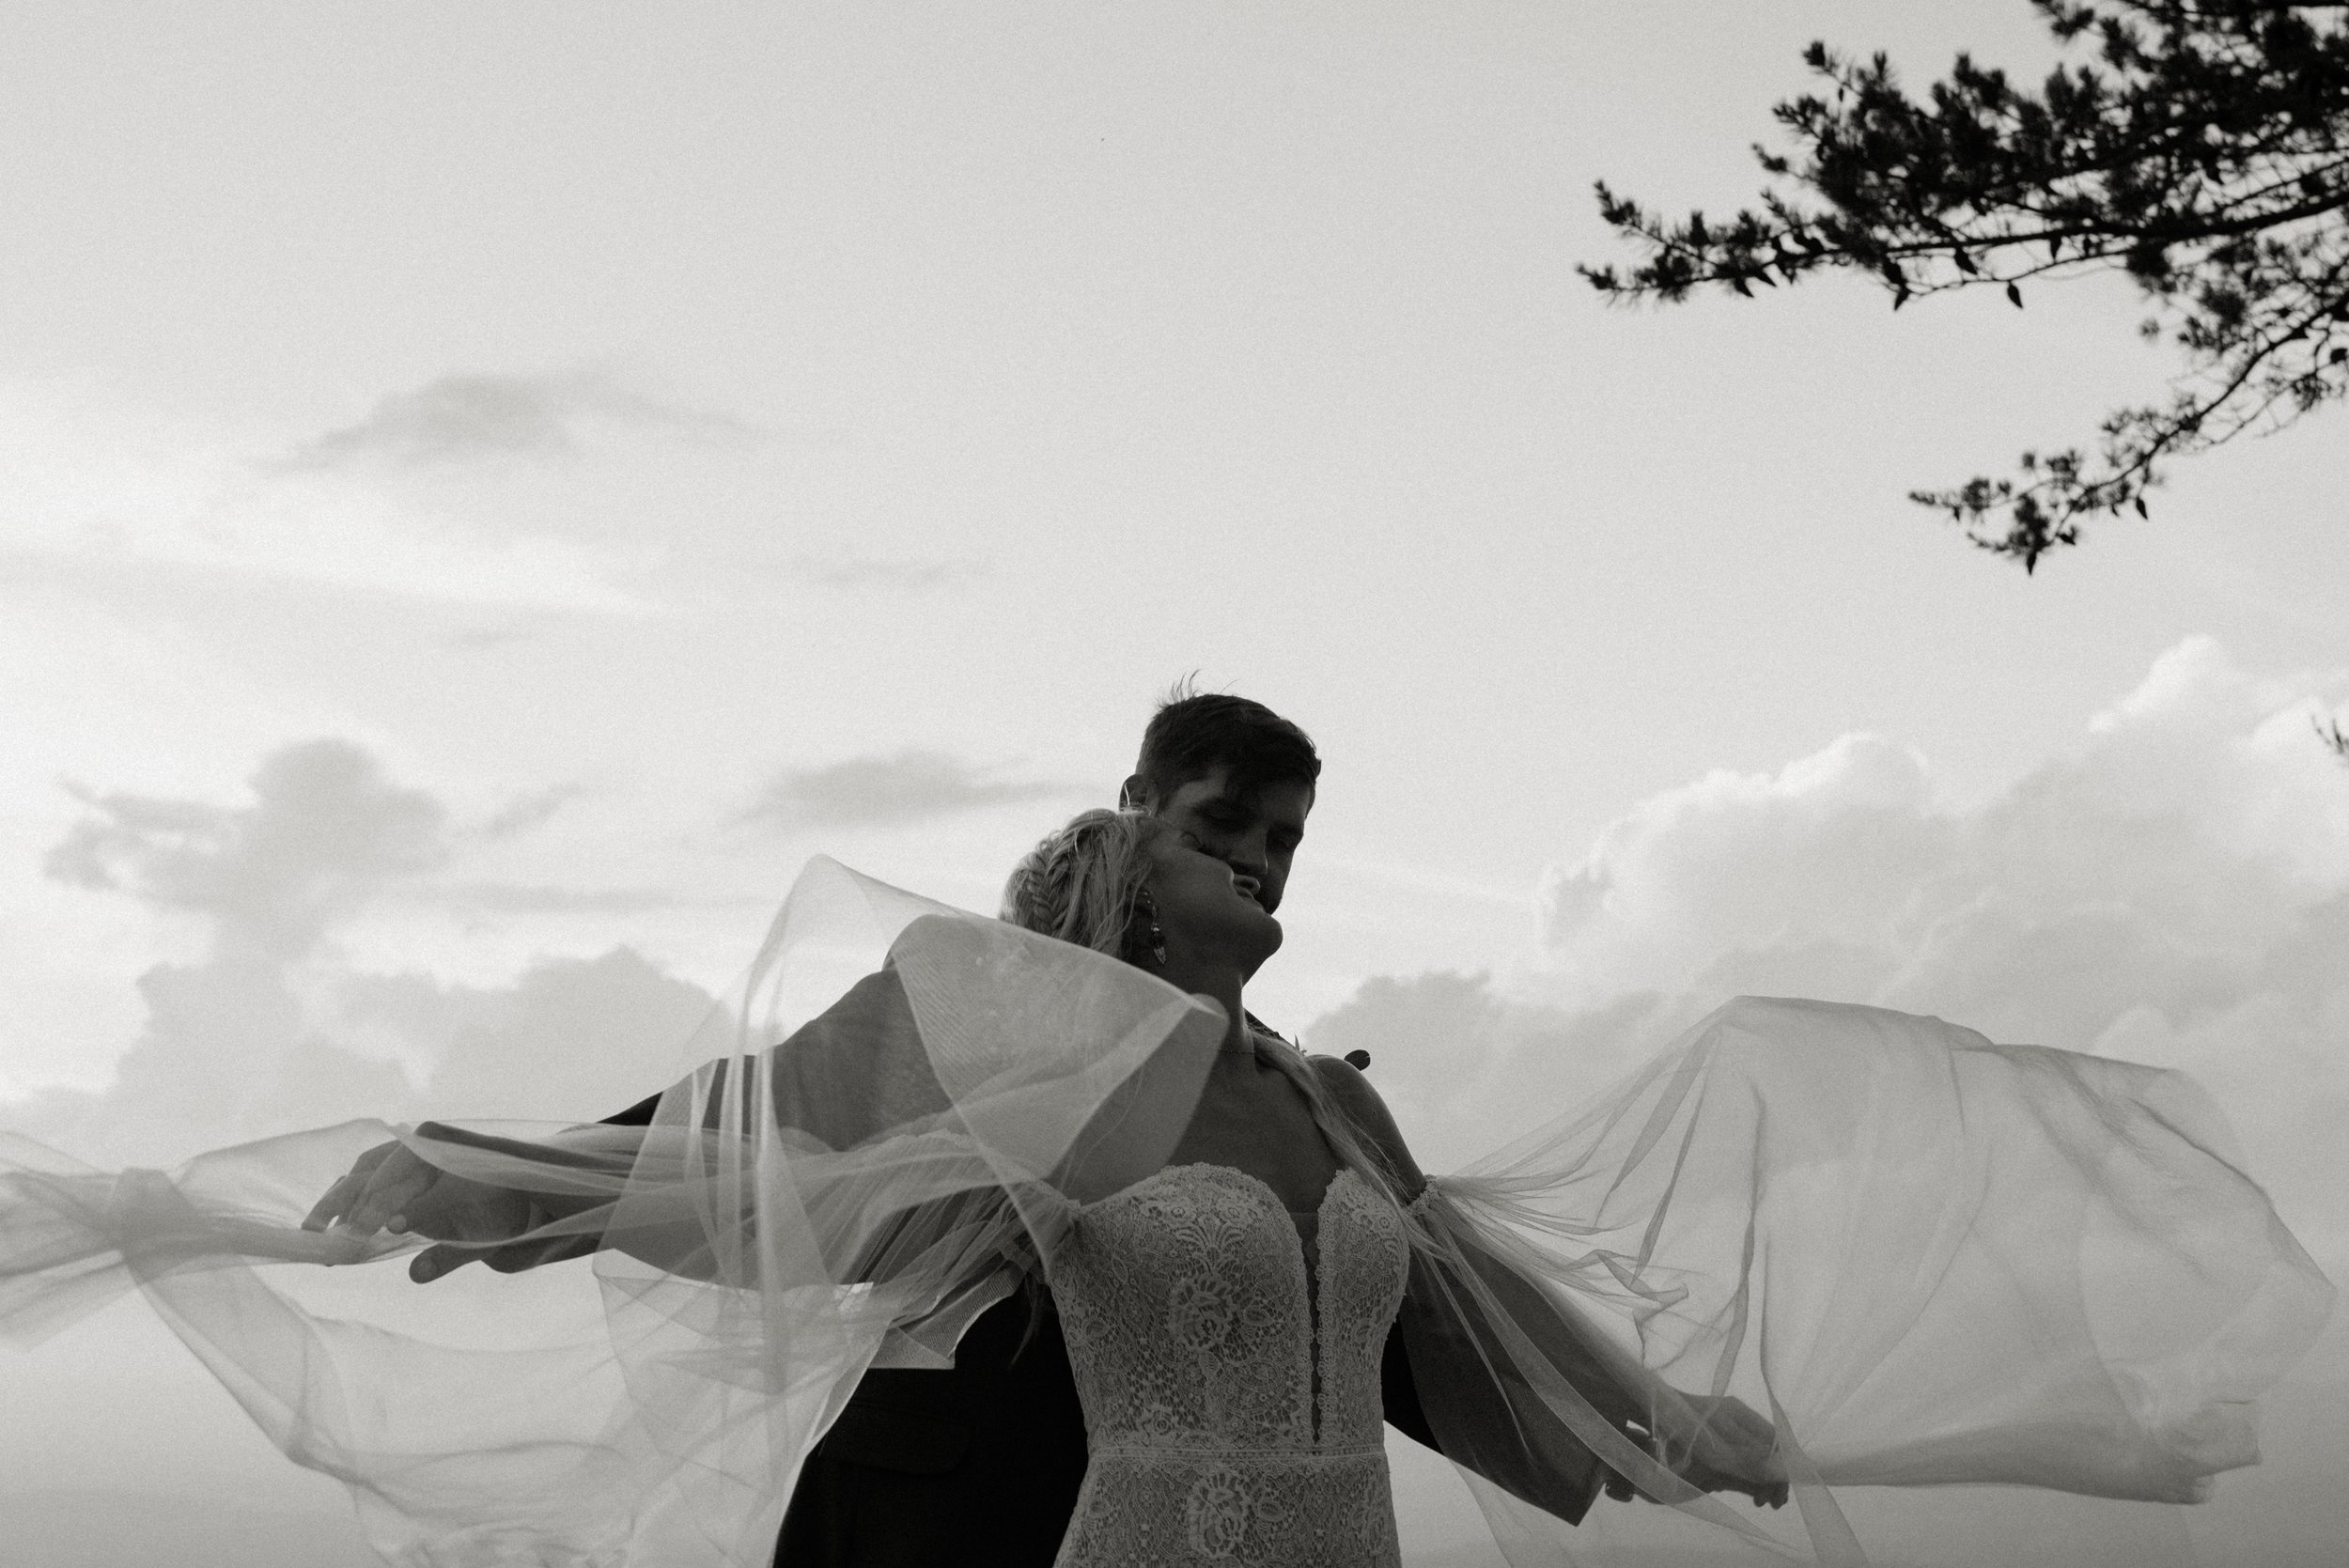
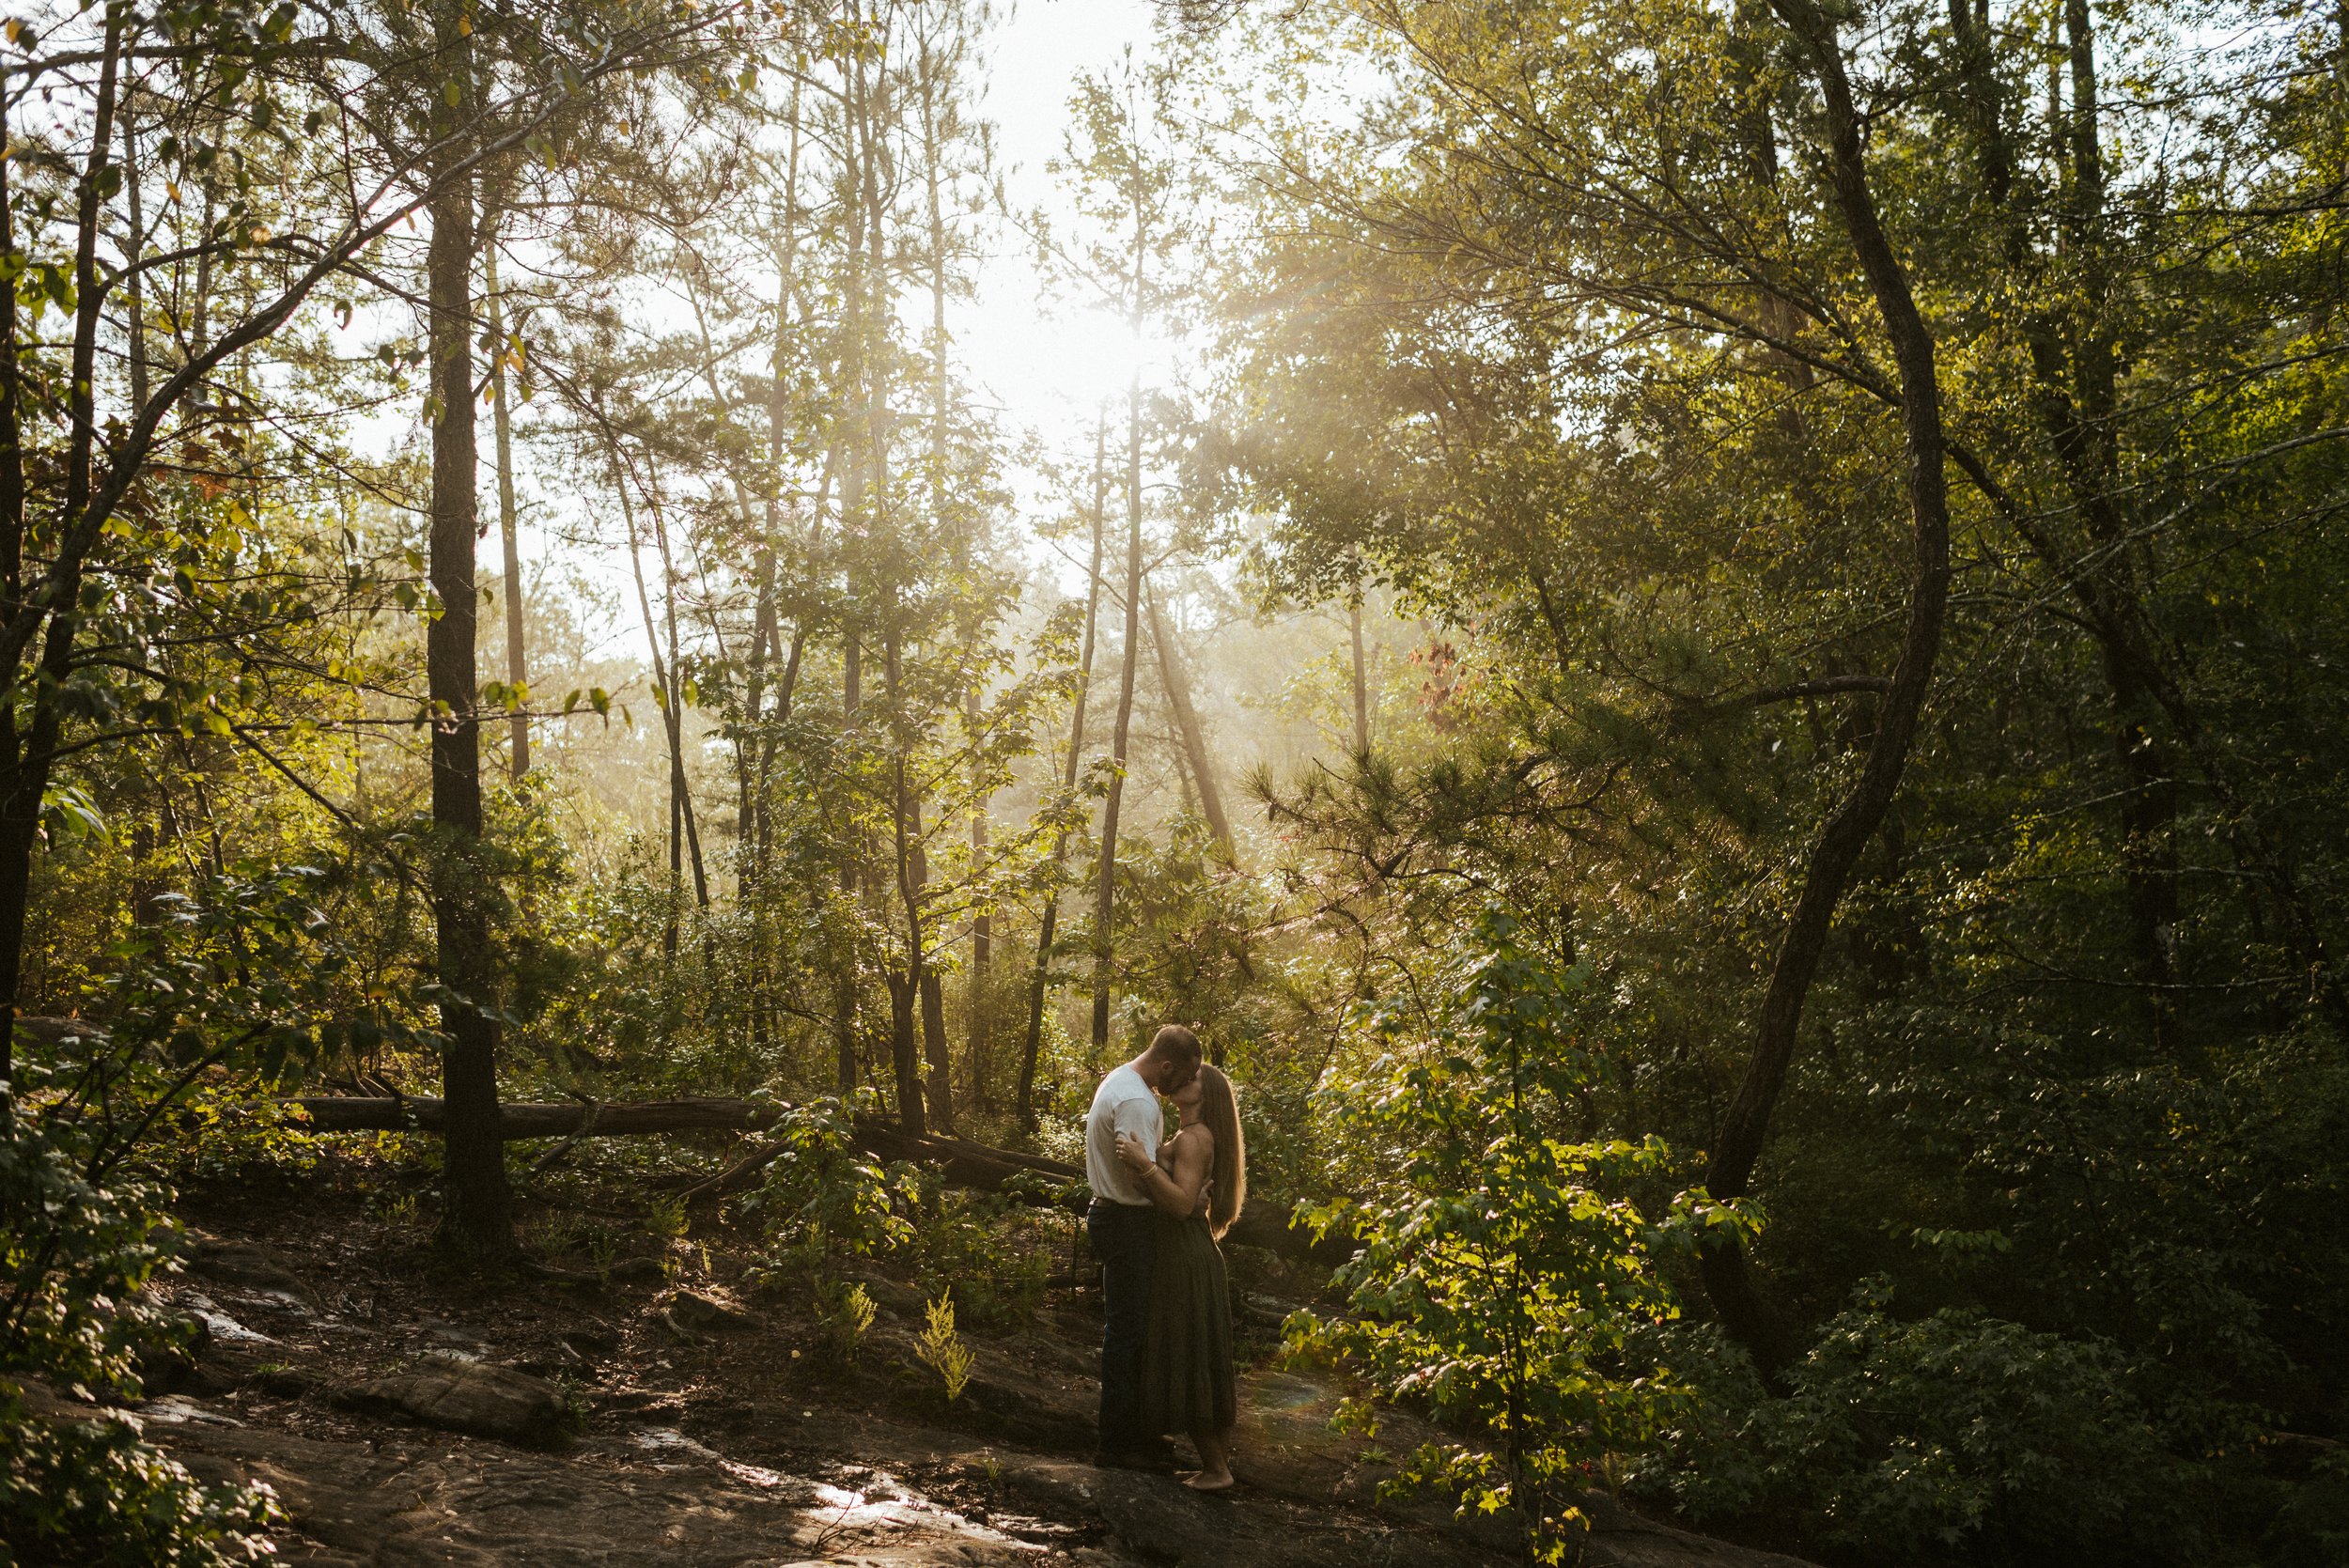
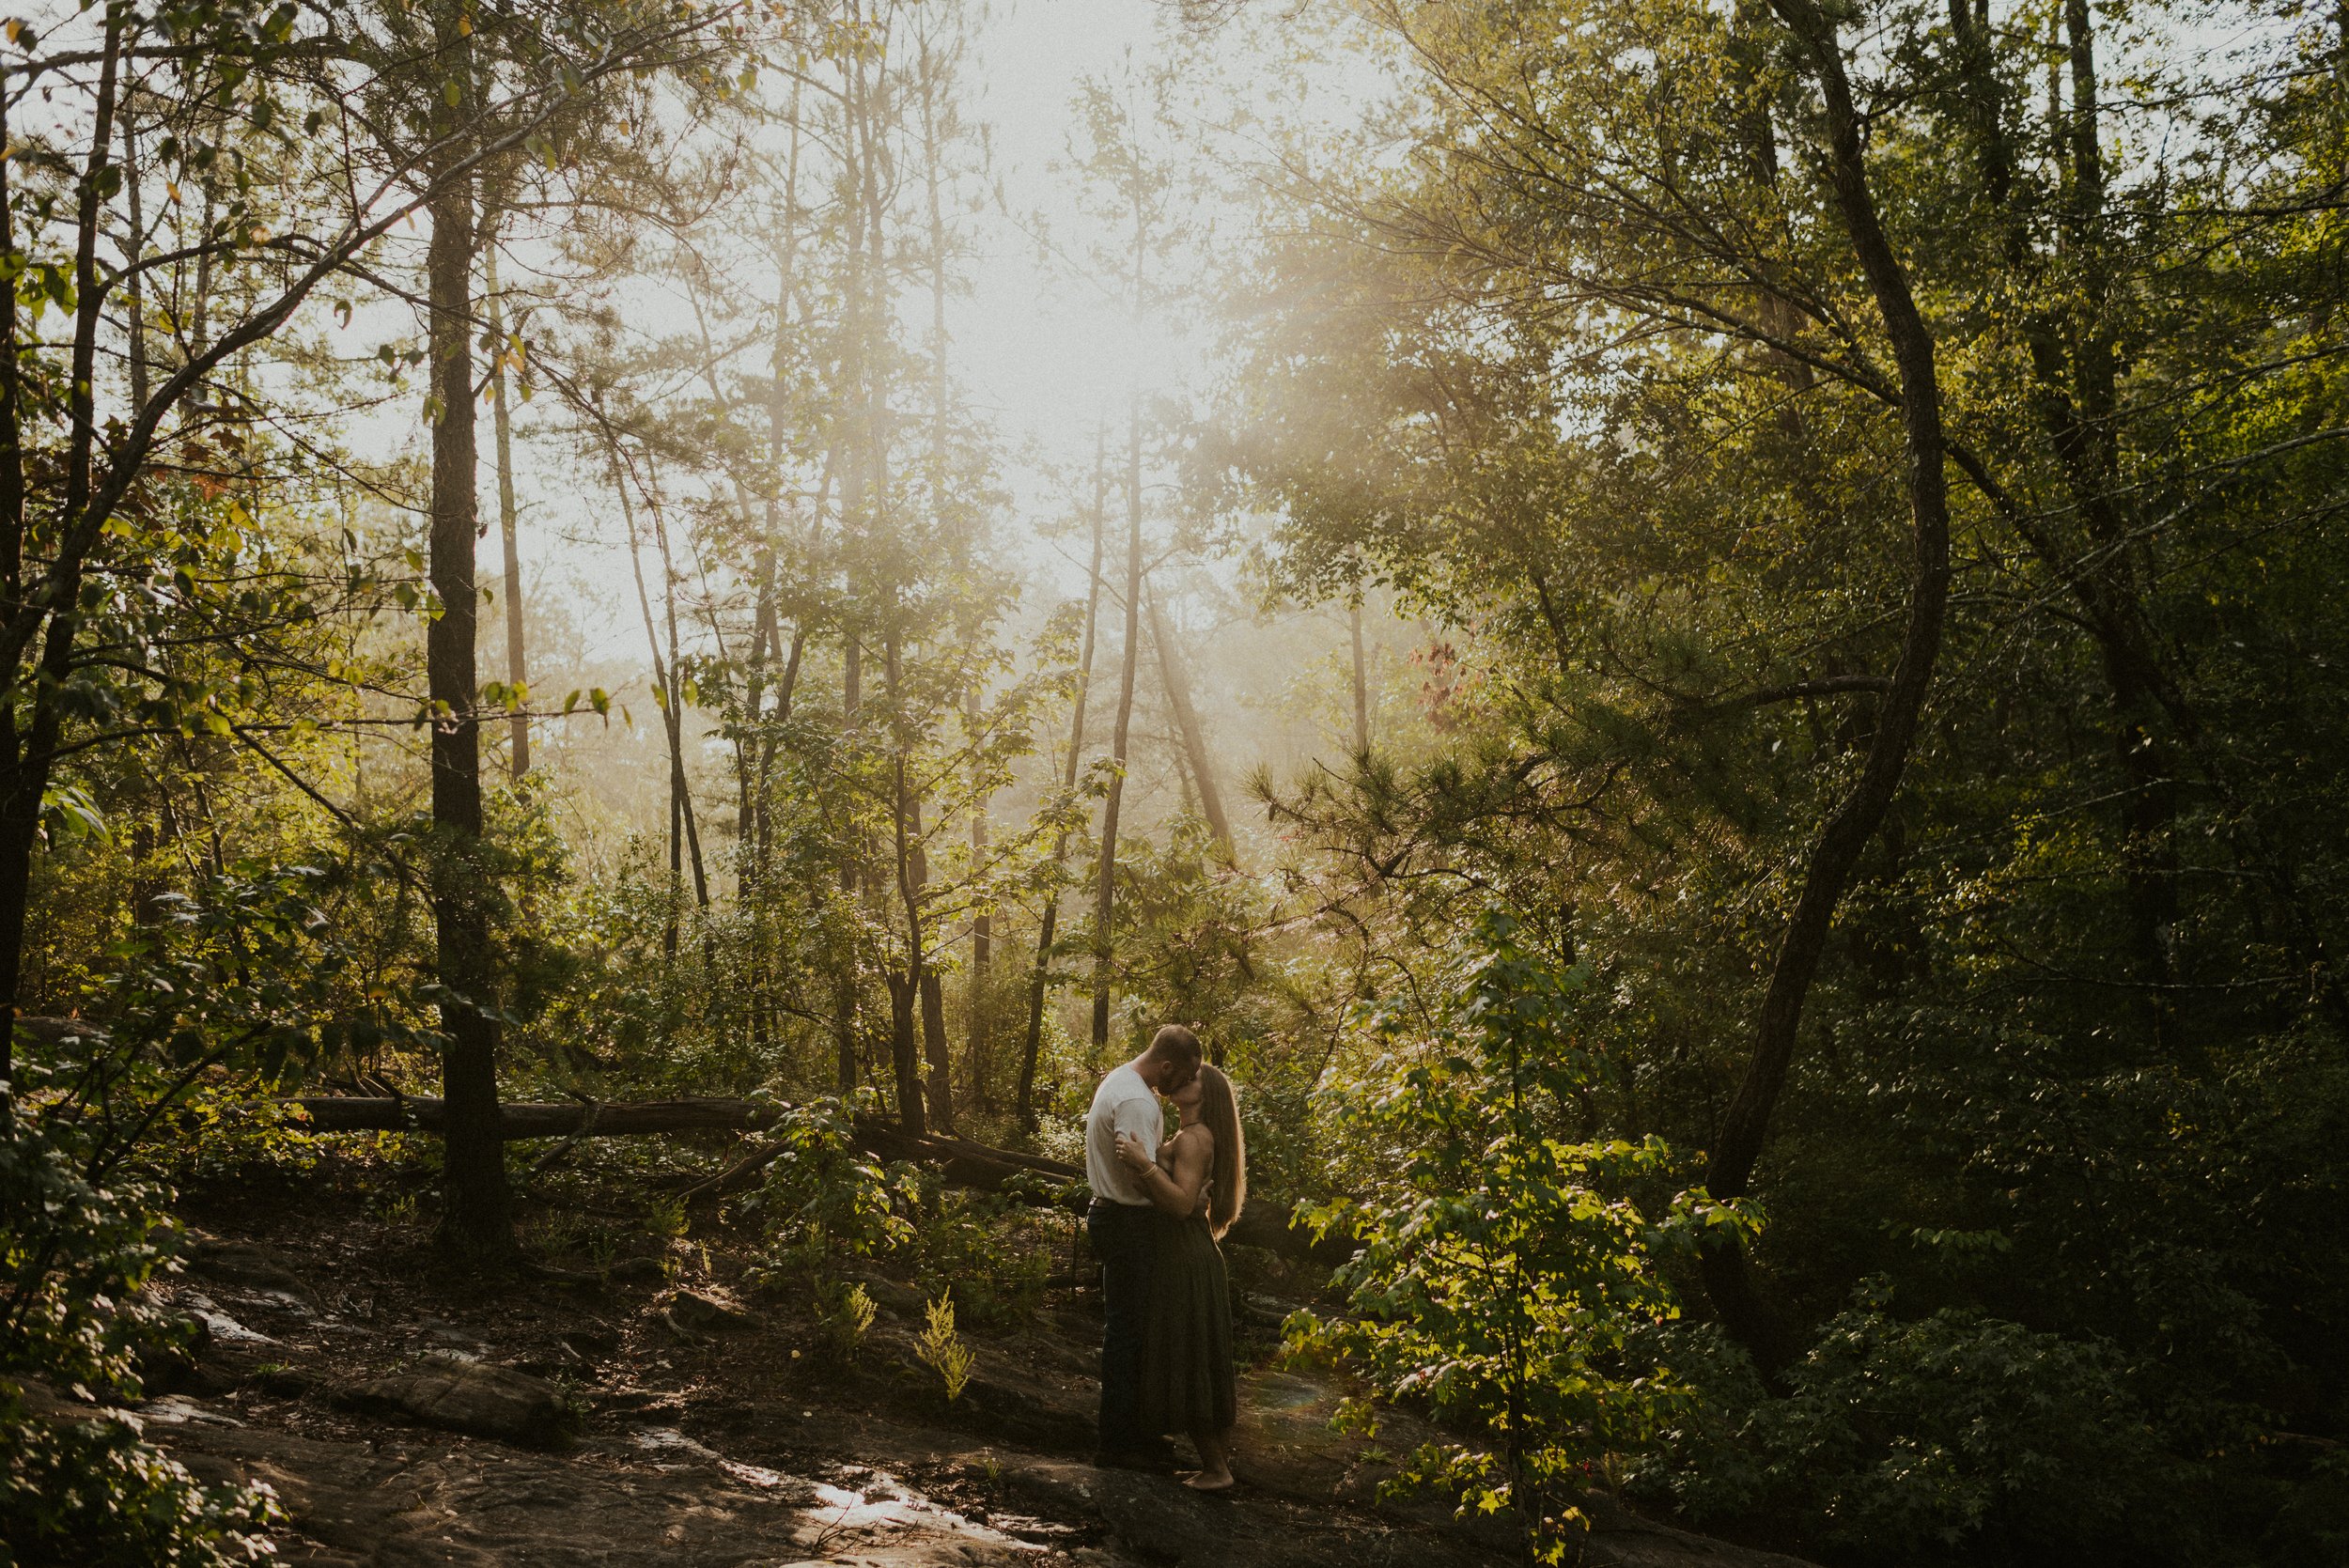
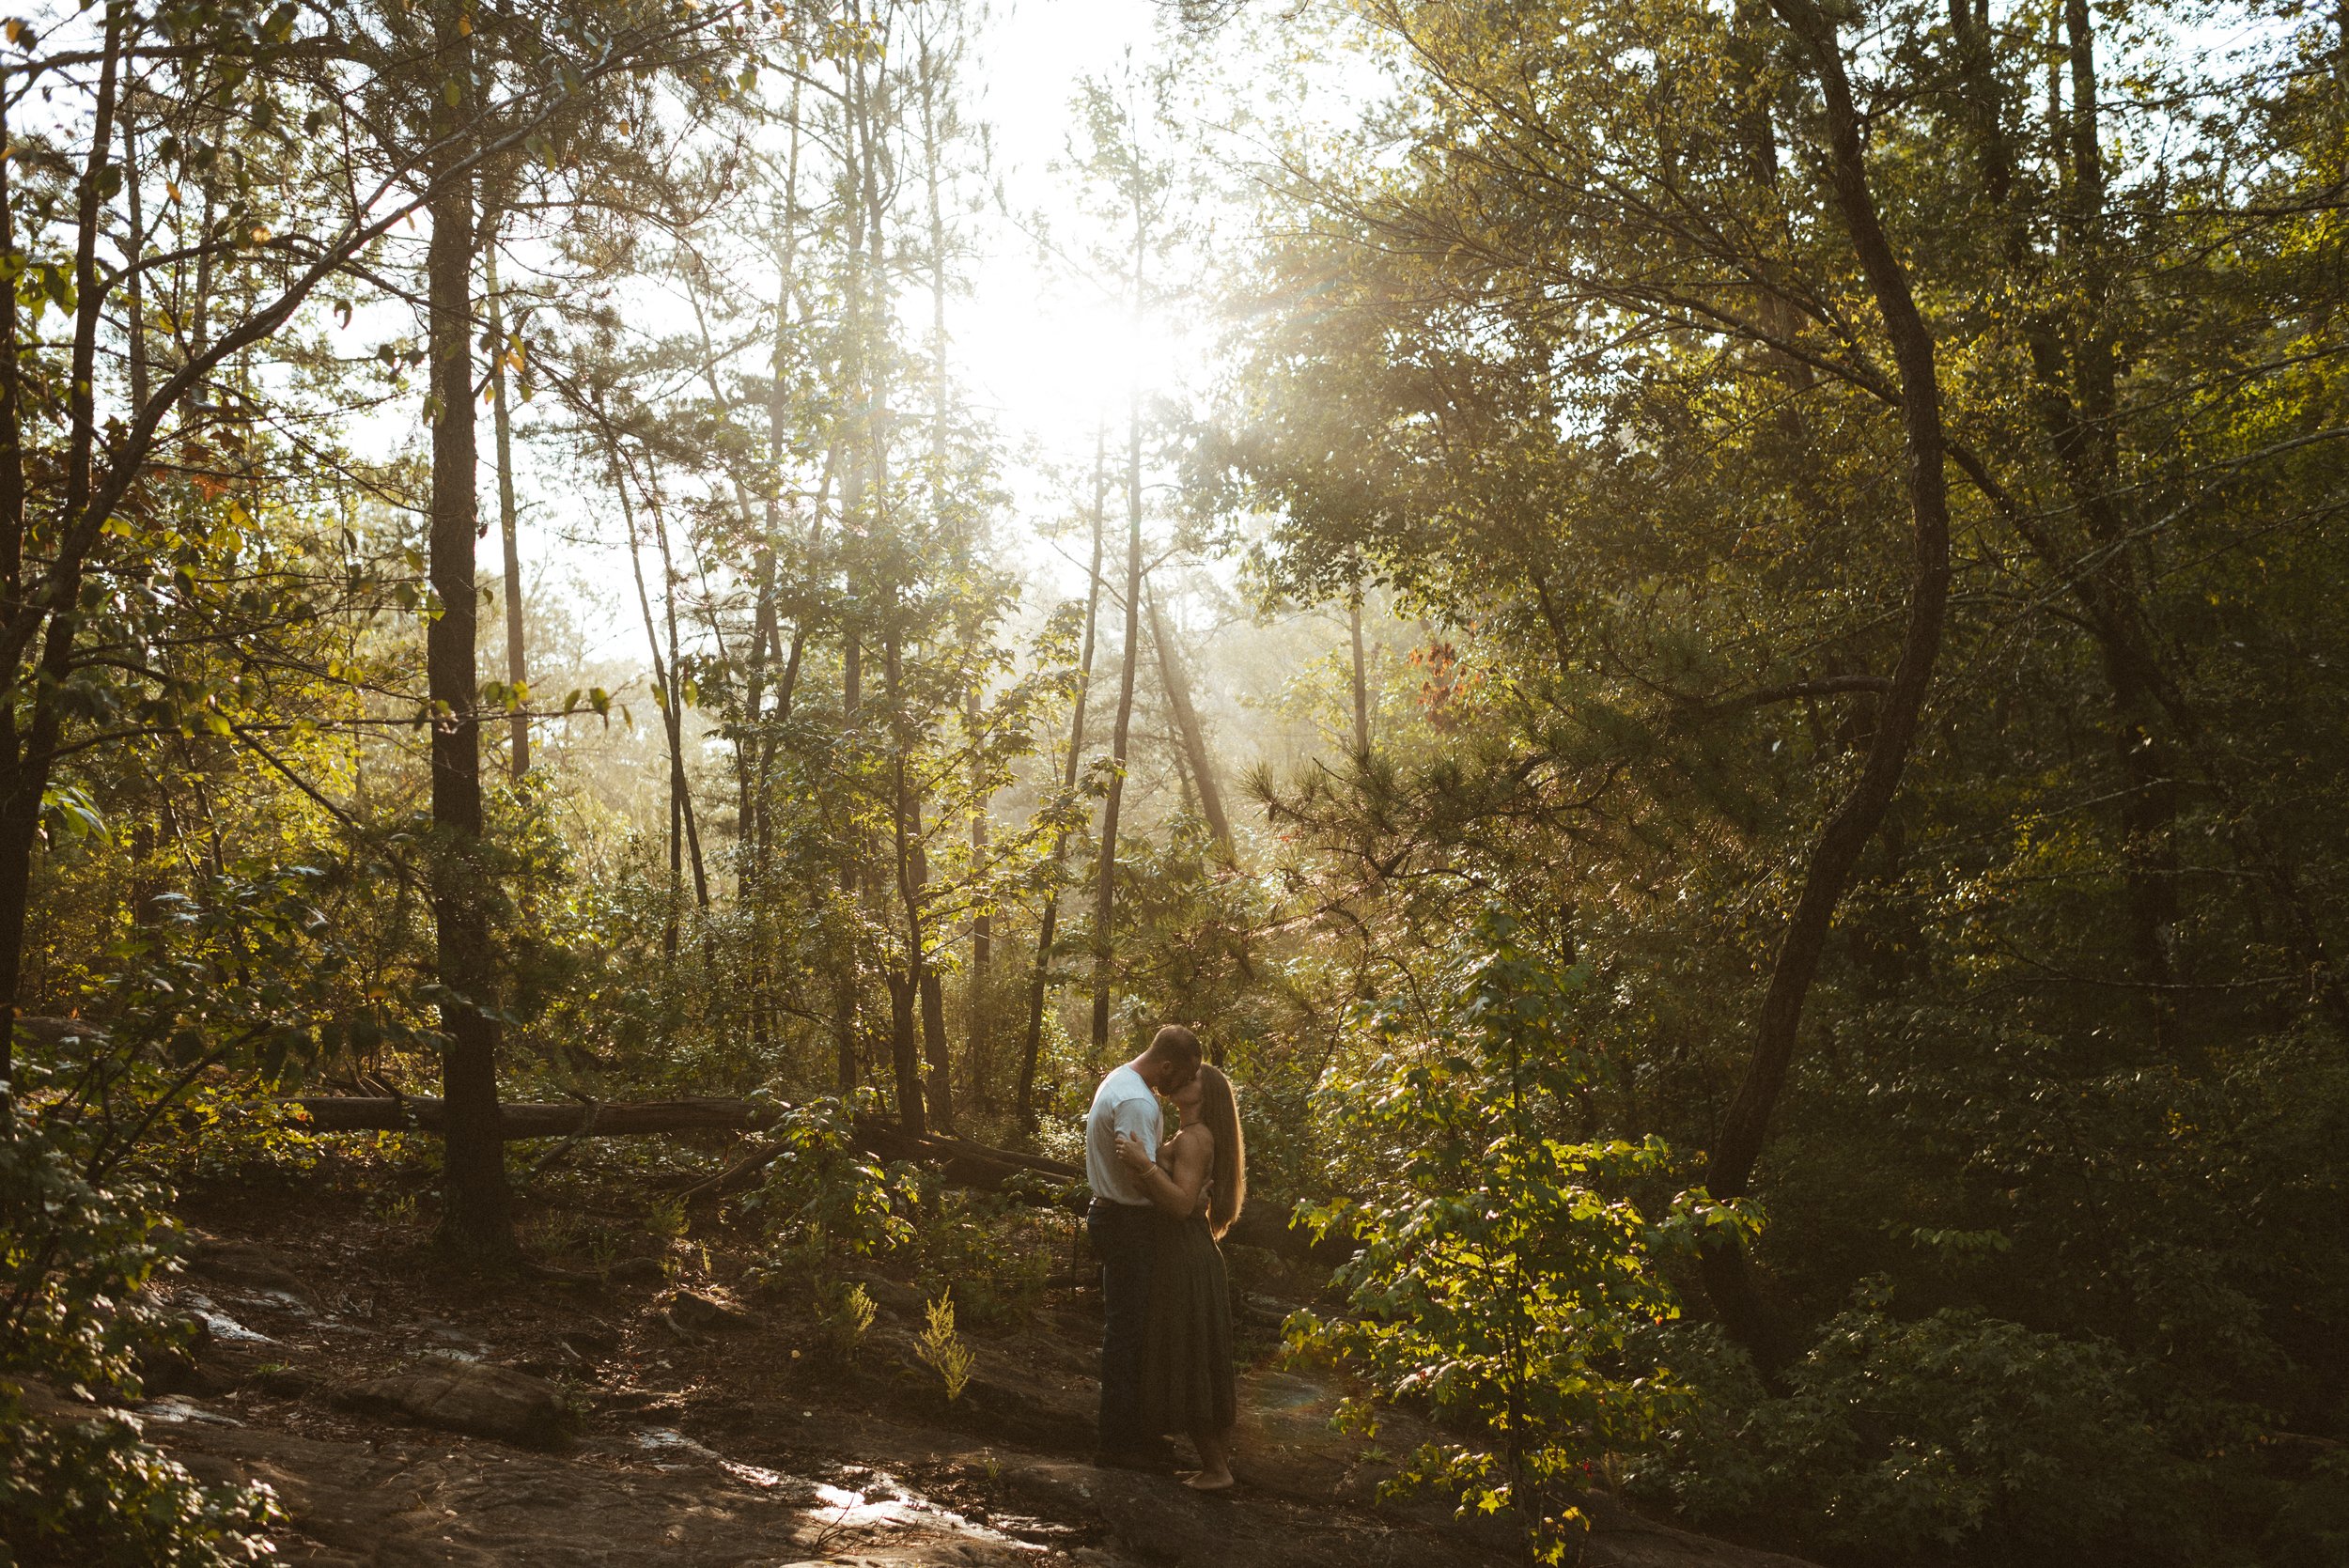
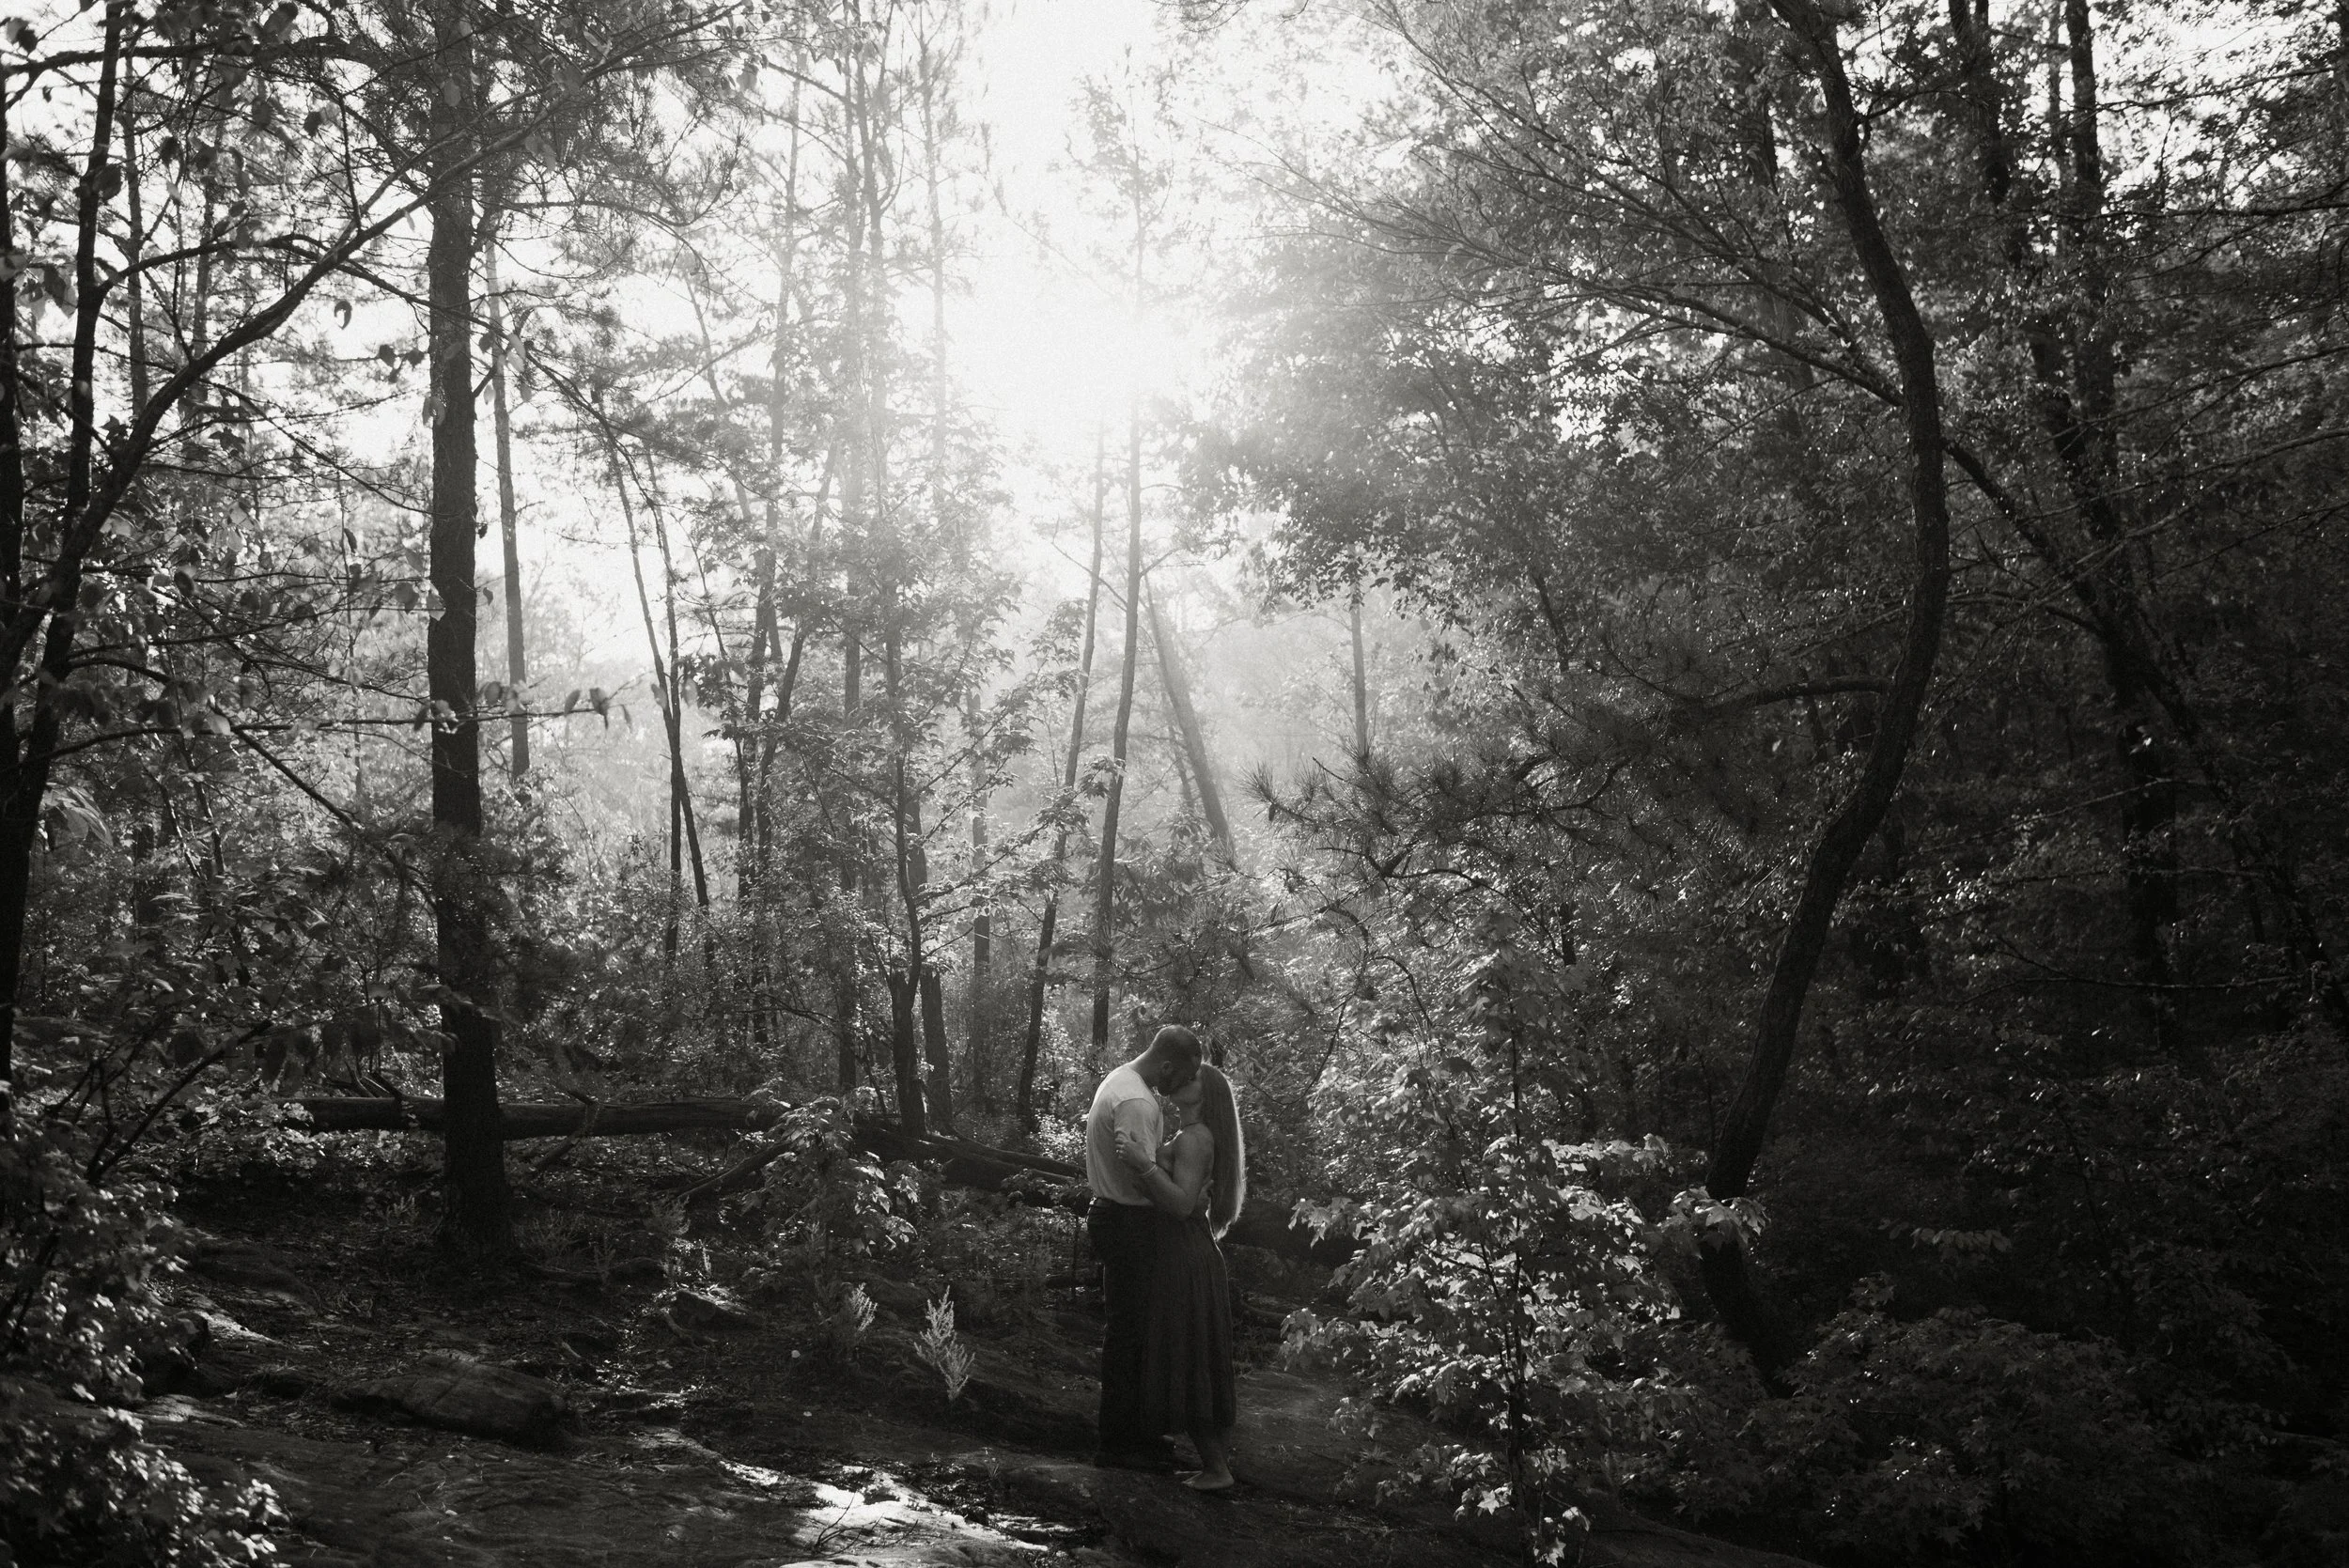
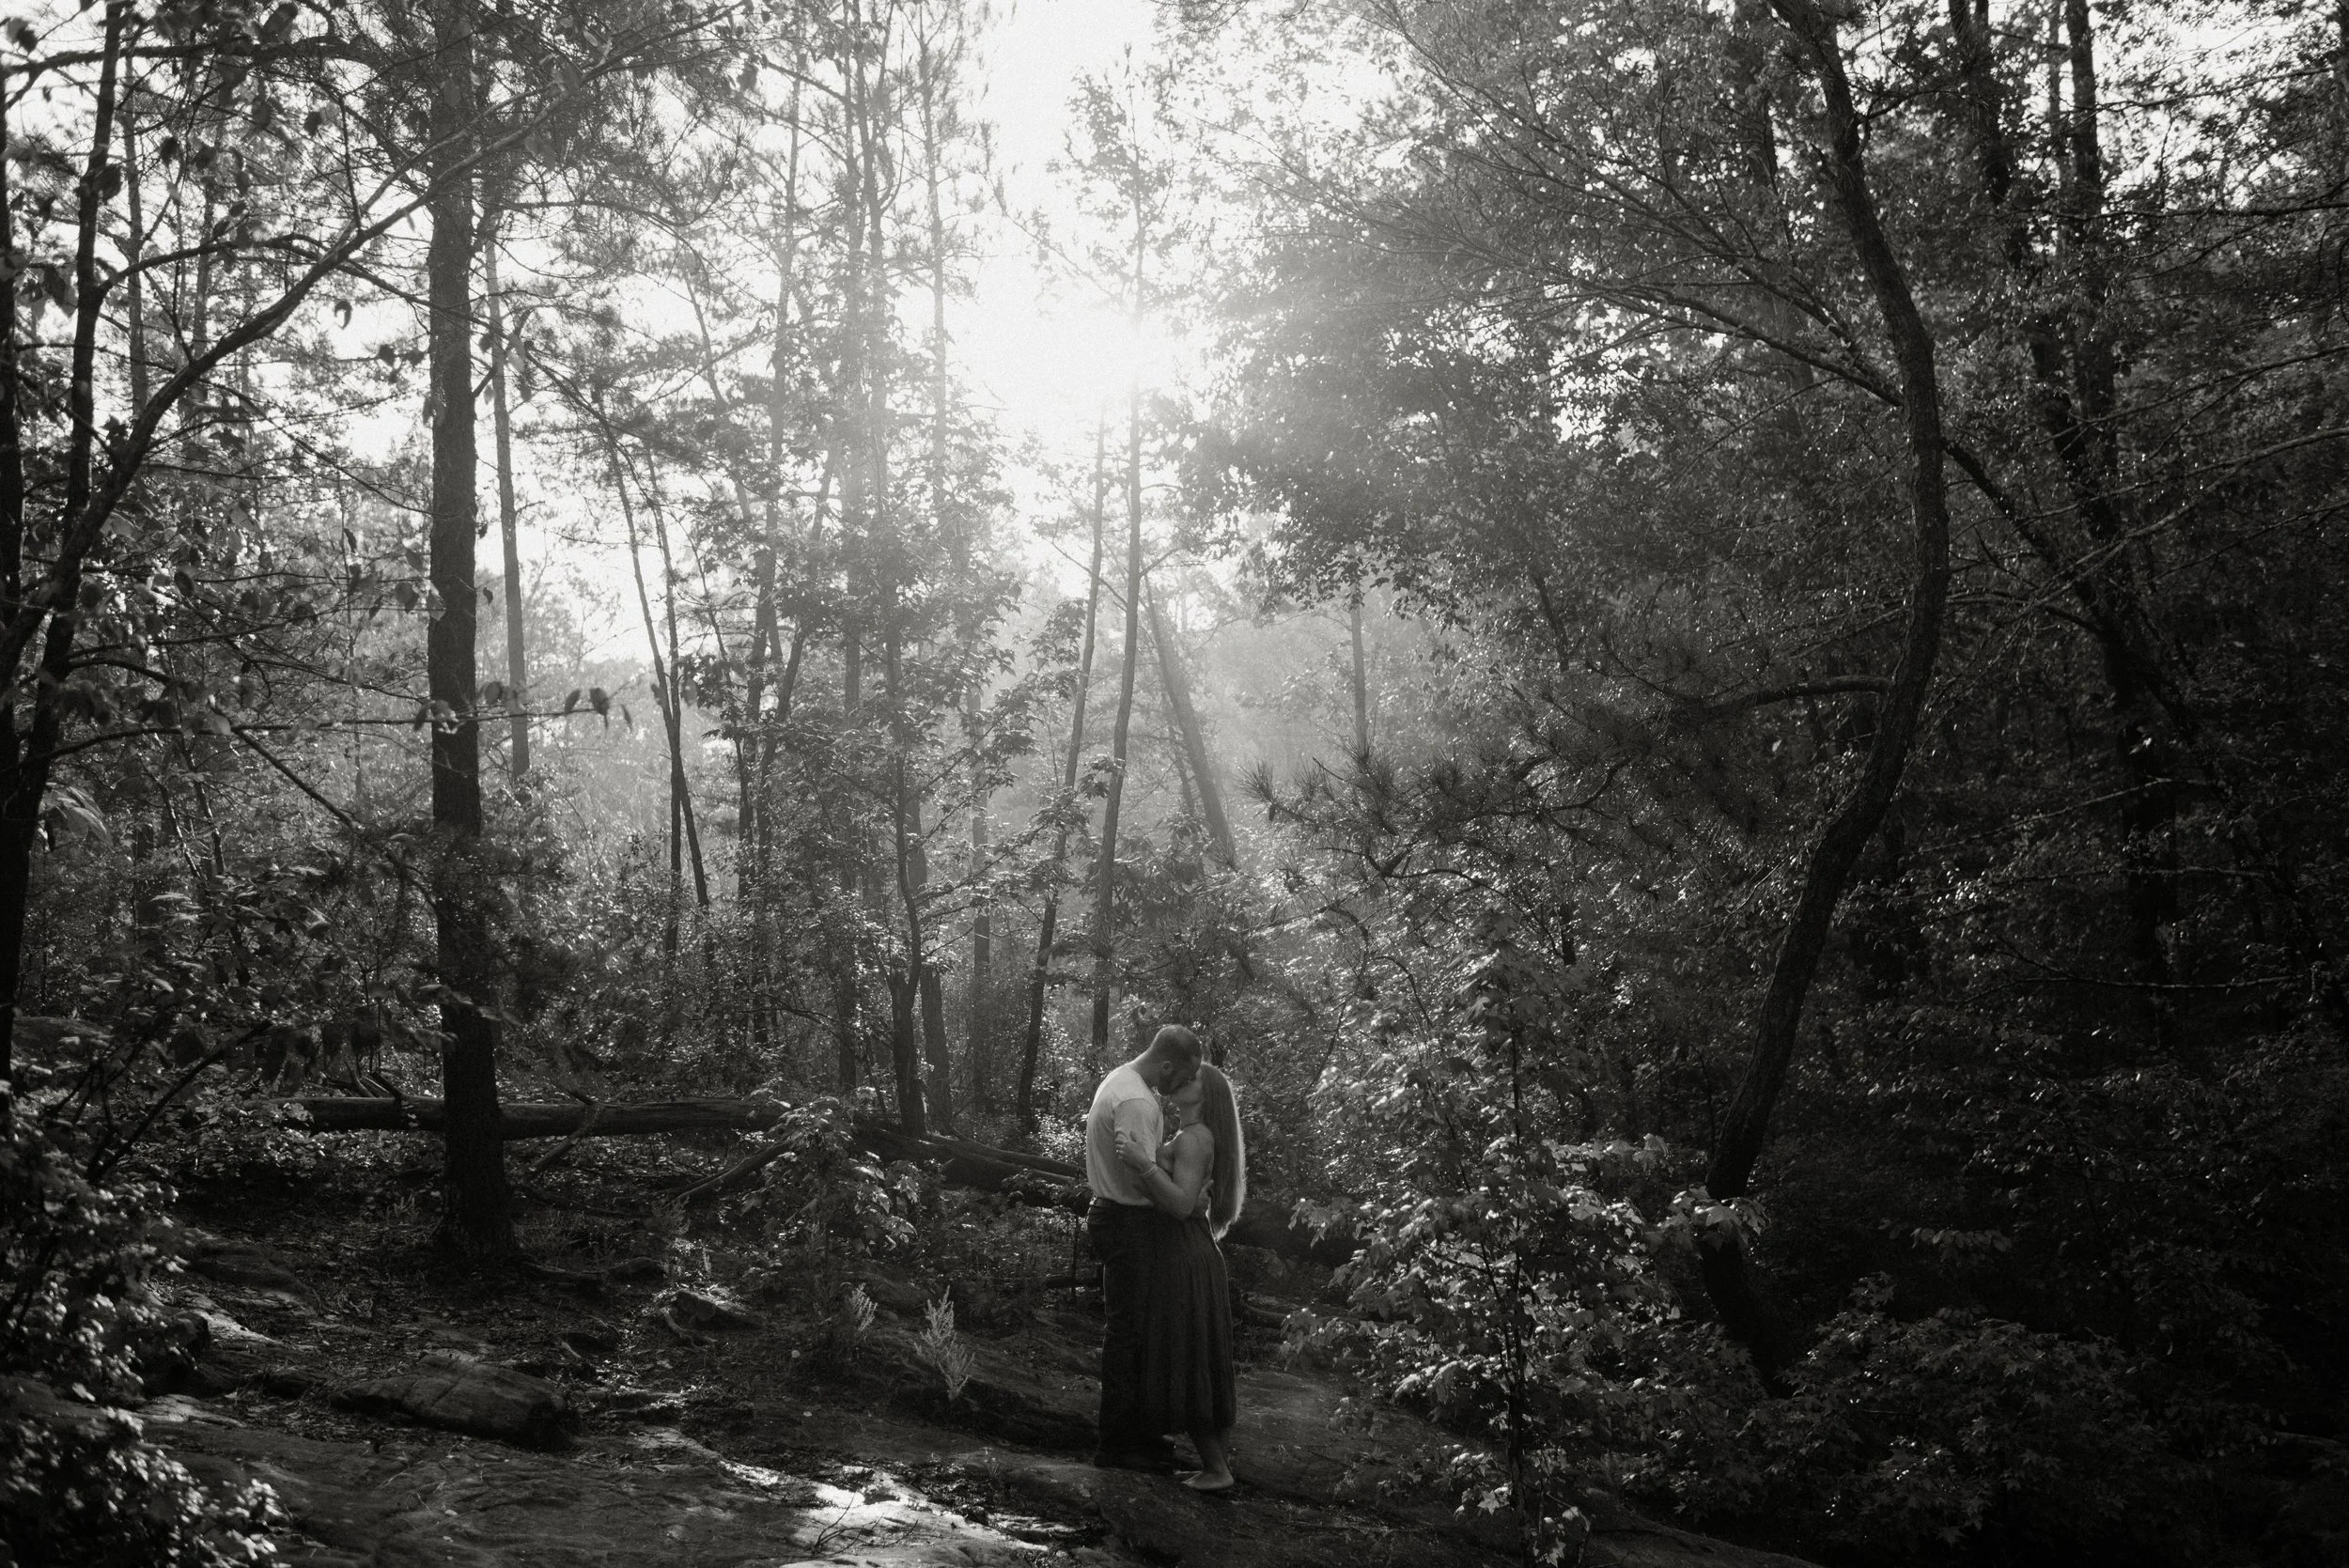
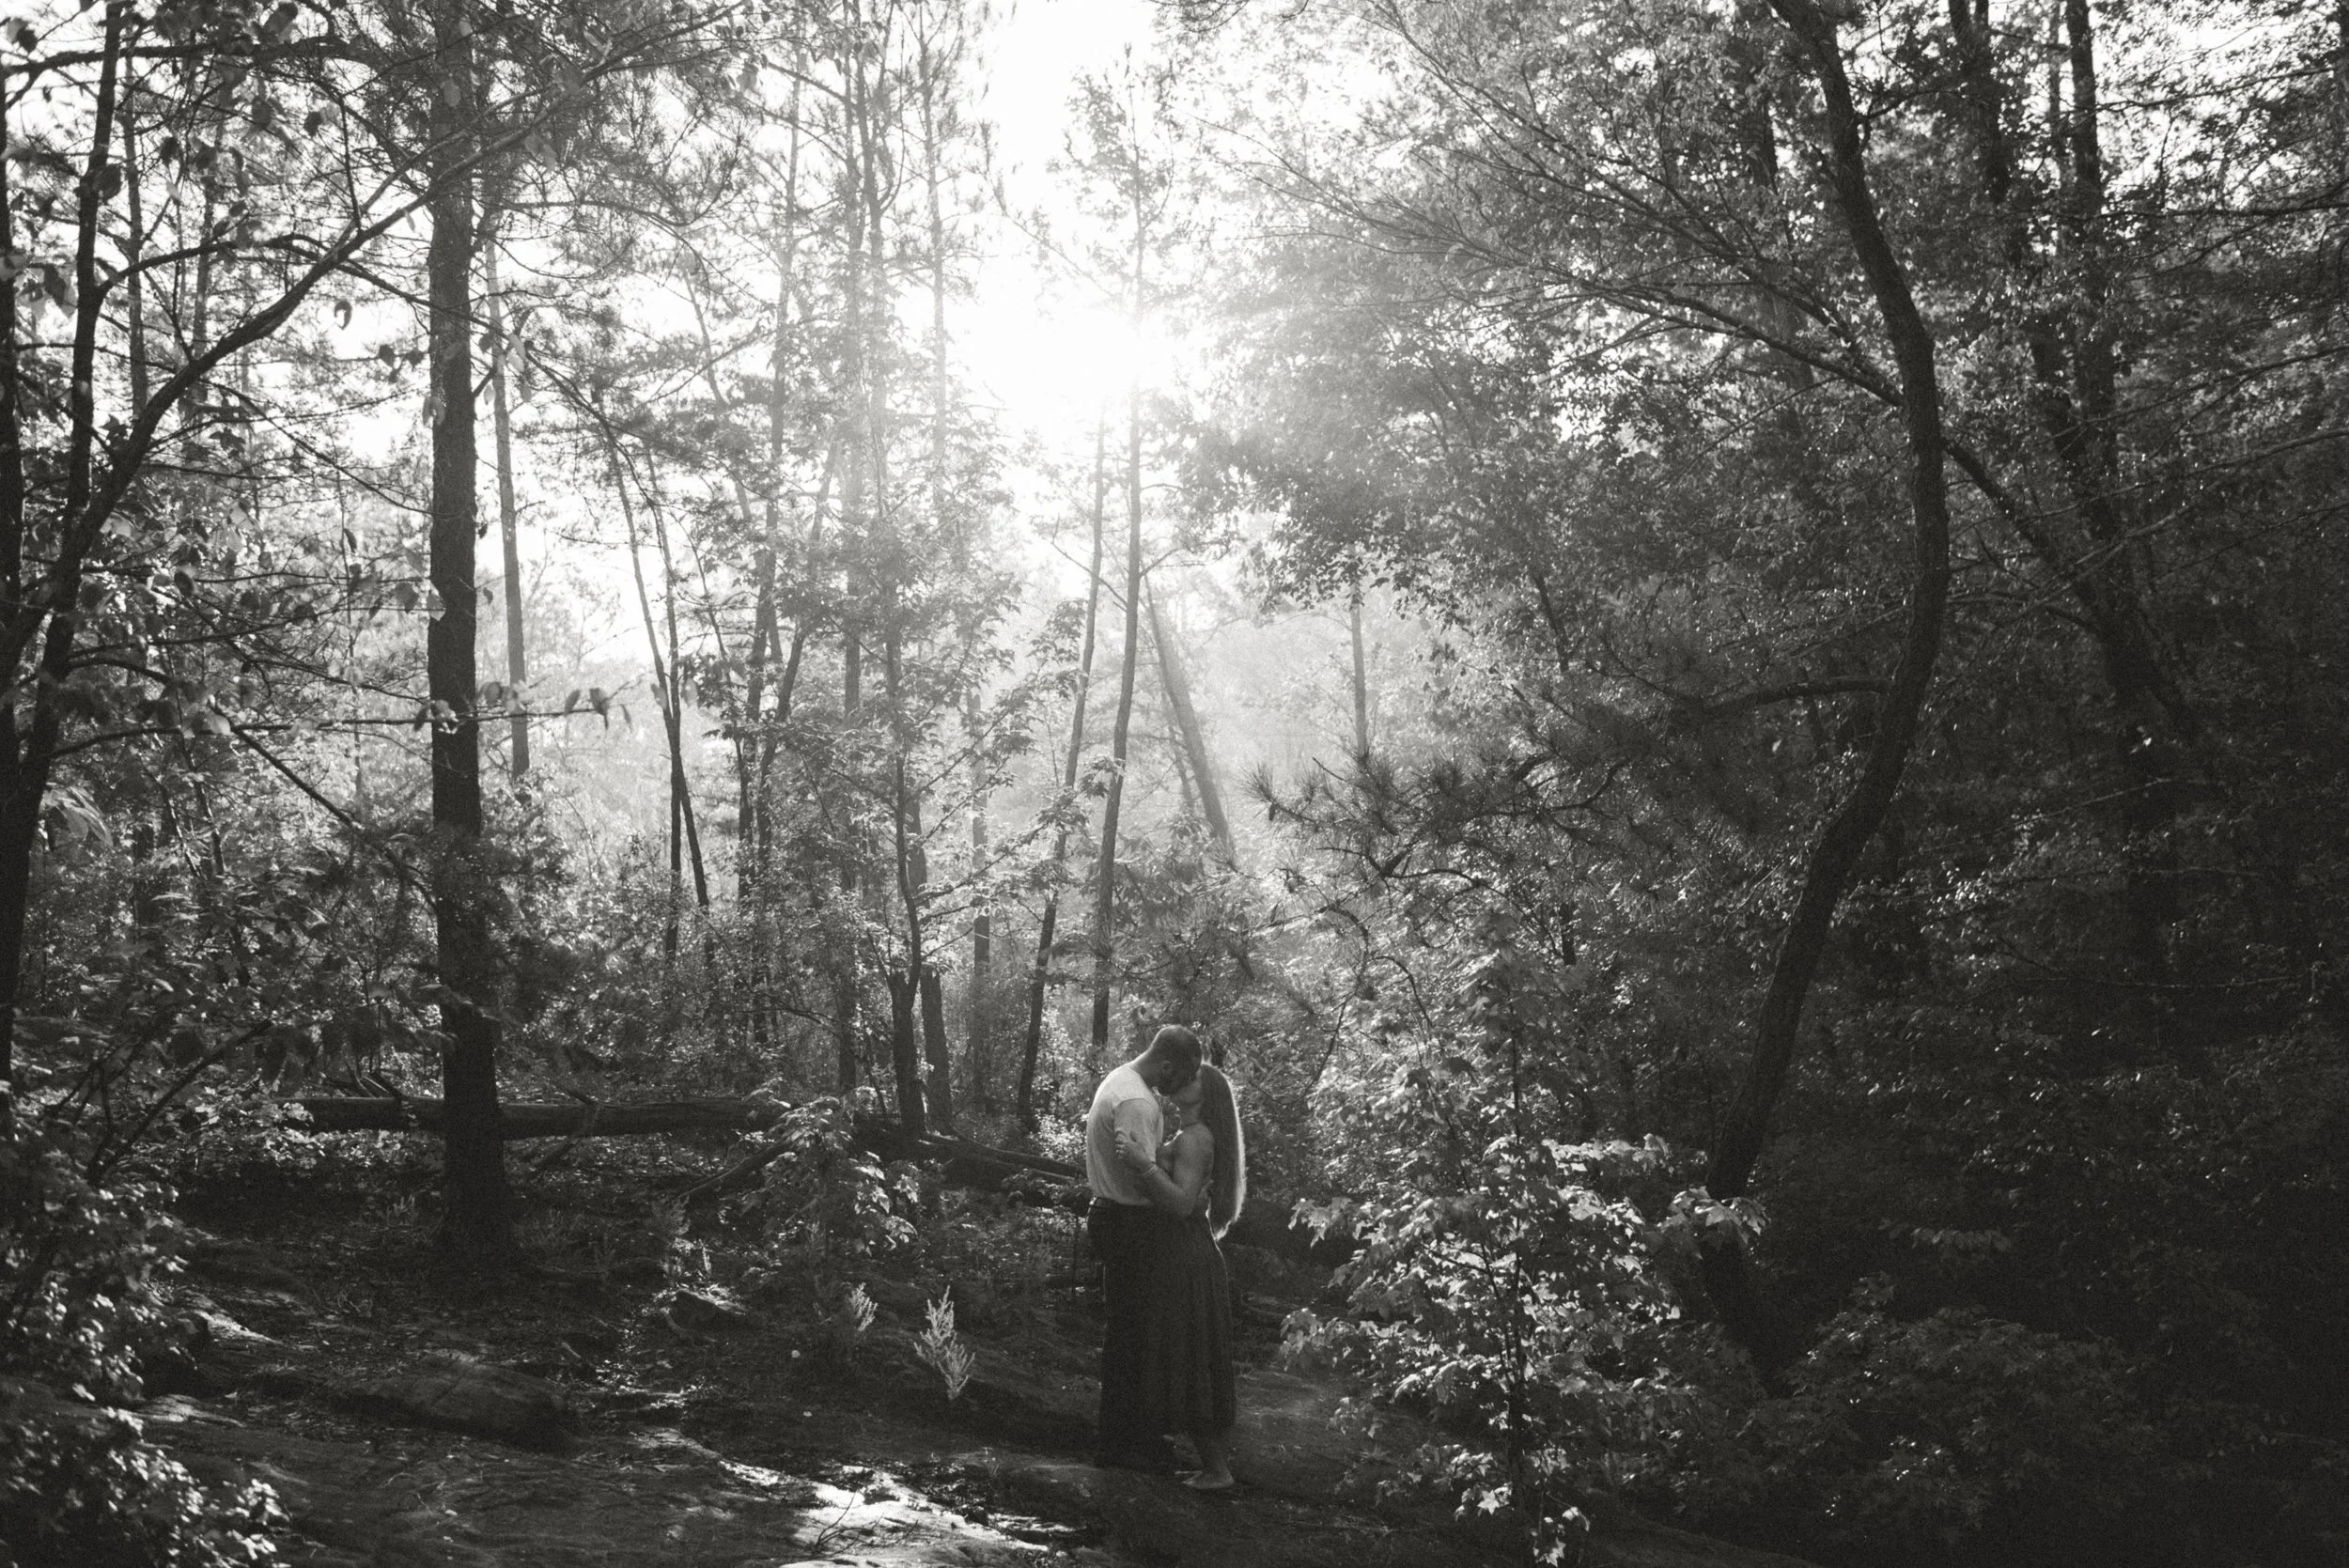
Examples
Here’s a preview of what it’s like to edit with the Hummingbird pack.
Natural

Creamy


Vintage

Black & White I
Black & White II

Film I


Black & White Film I


Black & White Film II


Preset Comparison
Color
Black & White
Tips
General
While Lightroom & Photoshop are very powerful resources, good photographs are not built on them. When you get behind the camera, you are priming your photos for editing & there’s so much you can do to make the editing process more fluid.
Shoot in RAW, so you will have more control over your editing without losing quality or damaging the files.
2. Shoot in Manual Mode, so that you have more control over the composition of your images. Know how aperture, ISO, shutter speed work together.
3. Shoot in Kelvin, with your temperature in-camera matching as closely to what you’re seeing in real time. This gives you more control over the tones & look of your photos. AND, your edits will be more consistent.
Personal Note
Once you have installed these presets & apply them to a photo, you will notice that the white balance, tint, & exposure settings in the “basic” module do not adjust. You will need to adjust those to your liking. If you have several photos in a series with the same lighting, you can sync all of your settings so that your edits are the same!
The most common adjustments that I make in different lighting scenarios are all done in the “basic” module. Temperature, tint, exposure, contrast, highlights, shadows, whites, & blacks. You’ll see when I edit below that my first steps are most often adjusting exposure & temperature, sometimes before I even apply my preset.
Let’s talk skin. The red & orange sliders are your best friends for these presets.
To keep the intensity of color, but change the skin tone - adjust the red/orange tint sliders.
To keep the skin tone, but lose some of intensity of color - adjust the red/orange saturation sliders.
To keep the skin tones & the intensity of color, but brighten/even - adjust the red/orange luminance sliders.
Let’s talk blues. I love blues in my photos, but I know they aren’t for everyone or every situation. If you don’t like as much blue in your photos, head over to the blue & aqua sliders & decrease the saturation.
Let’s talk sunrise/sunset photos. Sometimes, skies can loose their intensity of color or detail after applying a preset. You can add a mask for the sky, adjust exposure/saturation in that mask to bring that intensity of color & detail back.
Watch Me Edit
How to Install
Lightroom Classic (version 7.5 or later)
Download your presets.
2. Open Lightroom Classic & go to the Develop module.
3. On the left, you will see the Presets section.
4. Click on the + icon at the top right & select Import Presets.
5. Select the presets zip file you downloaded & click import.
Your presets should now be listed & ready to use!
Lightroom CC (version 1.3 or later)
Download your presets.
2. Open Lightroom CC & go to top of the page.
3. Select File & then Import Profiles & Presets.
4. Select the presets zip file you downloaded & click import.
5. Open a photo to edit & look at the toolbar on the right.
Find the two overlapping circles, click on it, & you should find your presets here.
Desktop Presets
$99
|| Follow me on Instagram ||
@dakotachasity